This Halloween, I’m going to leave a BIG bowl of upcycled crayons on my porch instead of candy.
Hear me out though. These won’t be just *any* ol’ upcycled crayons…
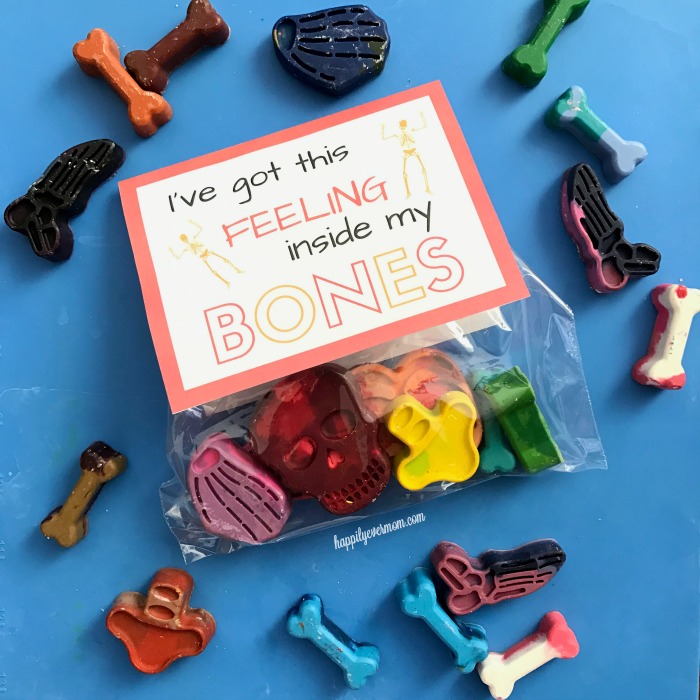
They’ll be rainbow skeleton crayons.
I can practically hear the shrieks of joy as the little trick or treaters dig through the vibrantly stained skulls, shoulder blades, and fibulas.
Who doesn’t love a good fibula to color with, am-i-right?
*kidding*
(sort of)
Because these melted crayons are so fun and easy to make with kids, I added a printable at the end of the post to put on your bowl or use for individual Halloween gifts or favors.
I’ve got this feeling that you’ll forget all about having a candy bowl on your porch this year.
Just stash that candy away for yourself later. I promise. I won’t tell anyone…

First things first, you’ve got to gather a few supplies for this fun DIY Halloween activity.
What You Need to Upcycle Old Crayons into Skeleton Bones
- Crayons with or without wrappers. (I’ll show you how to remove wrappers in 2 minutes or less below)
- A silicon mold. (we used a silicon skeleton mold from Michael’s, but here’s a similar mold on Amazon <–affiliate link)
- Cookie Sheet or pan covered with aluminum foil for easy cleanup and handling.
- An oven set to approx 200 degrees Fahrenheit.
- Print off the printable HERE.
The 2-Second Trick to Take off Crayon Wrappers
Before we dive into how to make these creepy crayons, I’ve got to share a little trick with you.
I was skeptical at first, but this trick to take off crayon wrappers quickly and easily really works!
Watch the video below to see how to get crayon wrappers off of the crayons in seconds.
If you want the cliff notes on how to get crayon wrappers off in 2-minutes or less, here’s how to get the wrappers off:
- Fill a large bowl with hot water – NOT BOILING. Just wait until your tap water gets hot.
- Dump all of the crayons into the bowl and wait for a few seconds.
- Then, slide each wrapper off of the crayon.
Tip: if you let the crayons sit for a little longer (say a minute or two instead of immediately) the wrappers will come off even more easily.

How to Make Upcycle Old Crayons into Skeleton Bones
Now that you have the wrappers off, break the crayons with your hands into small chunks.
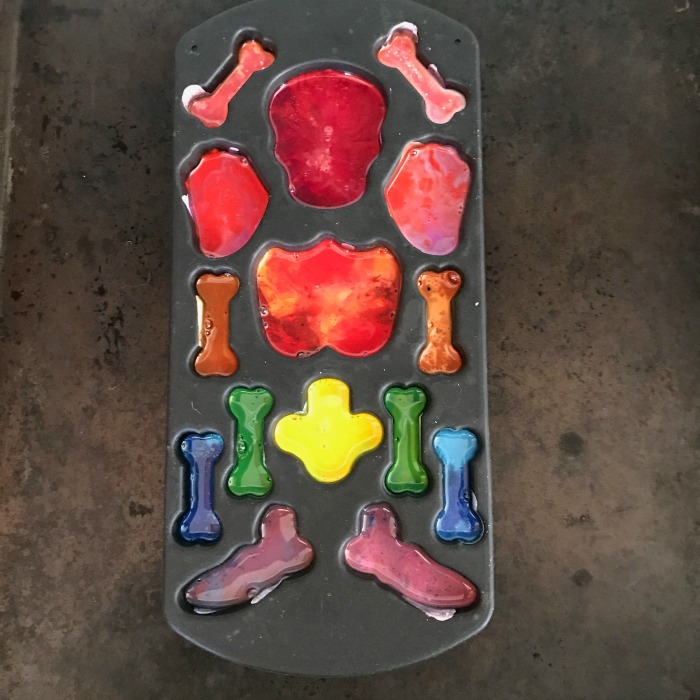
Note: If you want to have rainbow skeleton bones, I organized all of my crayons by color first so that I could match them into the mold. You can do it this way or just randomly add the crayons into the mold. Either way, the results are gorgeous.
Next, you’ll put the crayons into the oven at 200 degrees Fahrenheit until you see that they are completely melted or liquid.
((This step needs to be done by an adult))
Carefully take the tray out of the oven and let the crayon liquid cool.
Once hardened, you’ll carefully pop the crayons out of the mold.
Then, draw!

My kids loved to stack these and sort the bones while they drew.
They also named their skeleton, Steve. My kids had long chats with “Steve,” the rainbow skeleton, as they drew pictures.
That’s the fun part about these crayons…
It’s not only about drawing, but these upcycled crayons add a fun, new dimension to drawing with crayons.
I mean, drawing with a rainbow fibula is on everyone’s bucket list, right?
More Halloween Posts from Happily Ever Mom

Leave a Reply