Hi Everyone!
I’m excited to launch our Light and Reflections series this morning! Each Monday in November, we will be posting about different ways to use light and reflections as a tool for learning. This week, we are focusing on art – whether that be painting, music, collages, etc. After viewing these ladies’ blogs (And Next Comes L, Racheous, and Where Imagination Grows), I was really inspired by how they all incorporated light into their activities with their young children. So, we joined together and we finally get to share our ideas with you. I hope you enjoy!
Melted Pony Bead and Tissue Paper Sun-catcher
 Believe it or not, this was L and my first experience with melting pony beads. I have been staring at them at the store, trying to convince myself to buy some, but I was a little intimidated to experiment with melting plastic! I’m here to tell you that you should definitely put the beads in your cart – if you haven’t already done so! I looked at this post from The Artful Parent to get an idea of how long I should melt the beads. I put them in the oven at 400 degrees for around twenty minutes. A reader on The Artful Parent’s blog, suggested putting a toaster oven outside to keep the burning plastic smell out of the house. This is exactly what we did and it worked perfectly. Considering I had a sleeping baby in the house while we did this, it was a must for me!
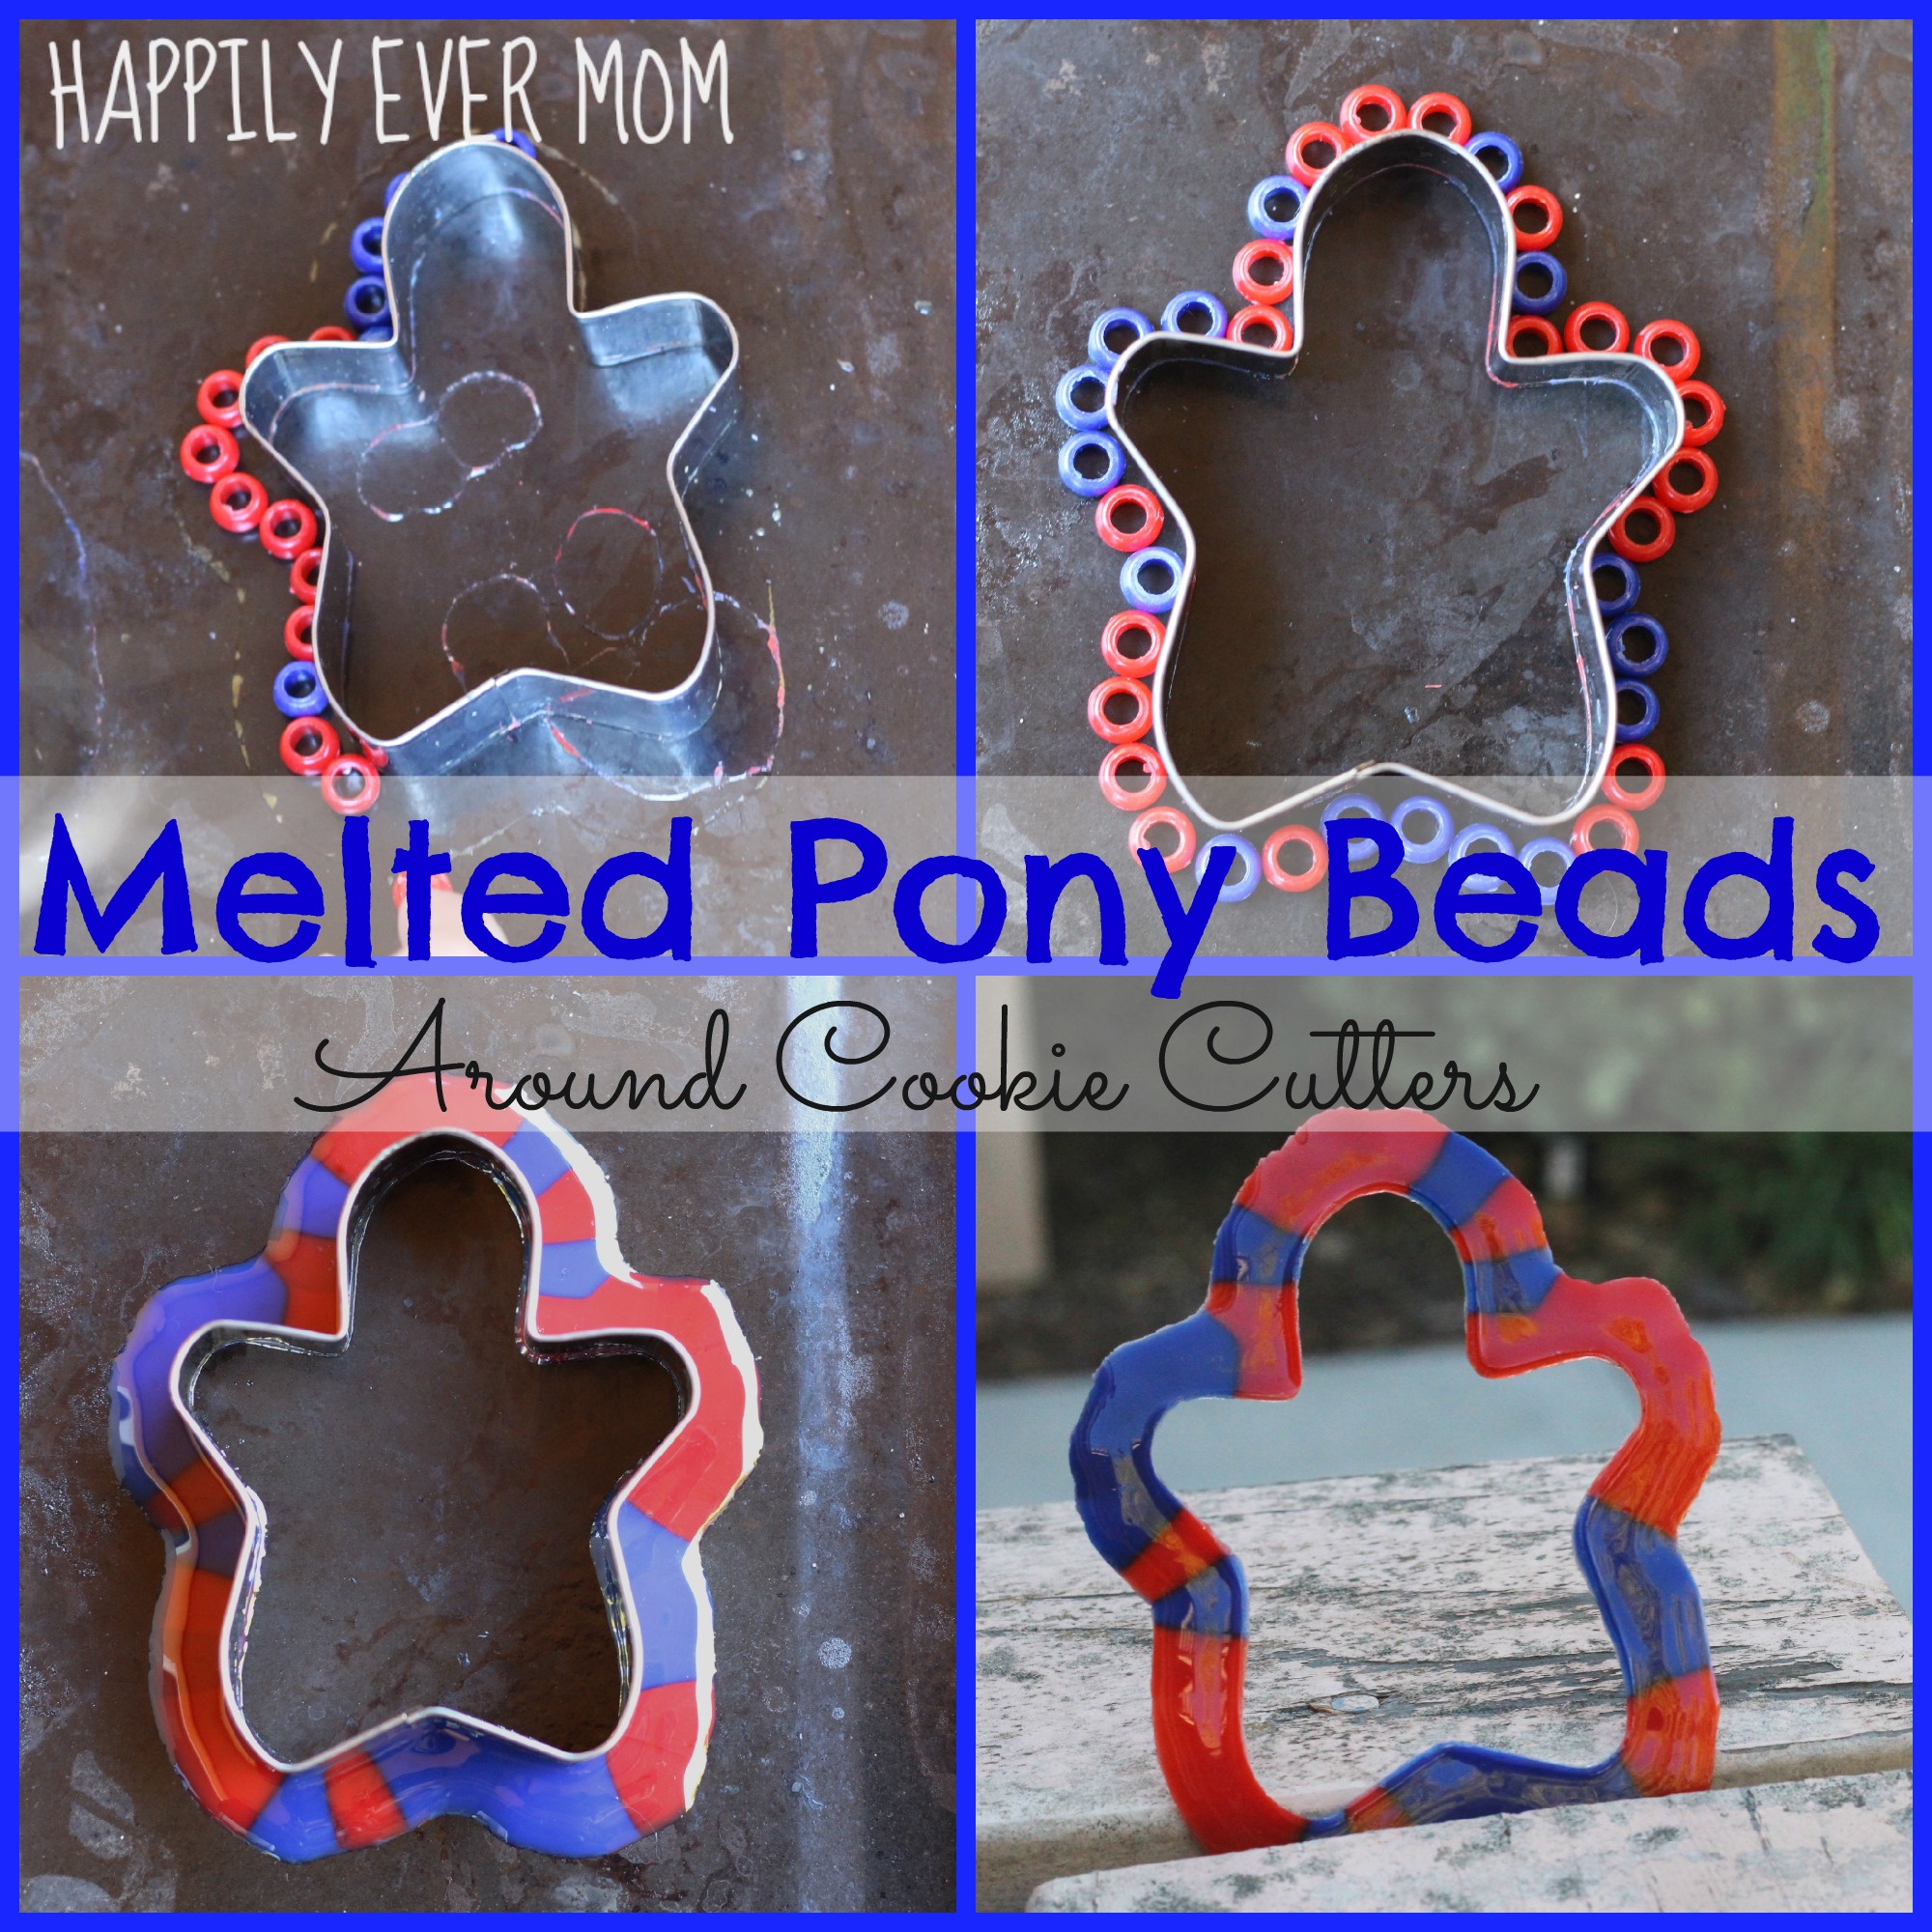 While L and I were experimenting with metal cookie cutters as a mold for the pony beads (which lead to a project that I’ll be posting about later), my daughter started to put the beads around the outside of the cookie cutter. The “no-sayer” in me started to say, “No, you put the beads on the inside….” and, fortunately, I stopped myself. This was something that I practiced a lot in the classroom and, now, something that I work on at home: Stop and watch before reacting with, “No.” And, I’m so glad that I stopped myself! Her idea was awesome – melt the beads around the cookie cutter! I certainly wouldn’t have come up with her “out-of-the-box” idea myself or should I say, “out-of-the-cookie-cutter” idea (I couldn’t help myself…somewhere my Dad is smiling about that joke ;-)).
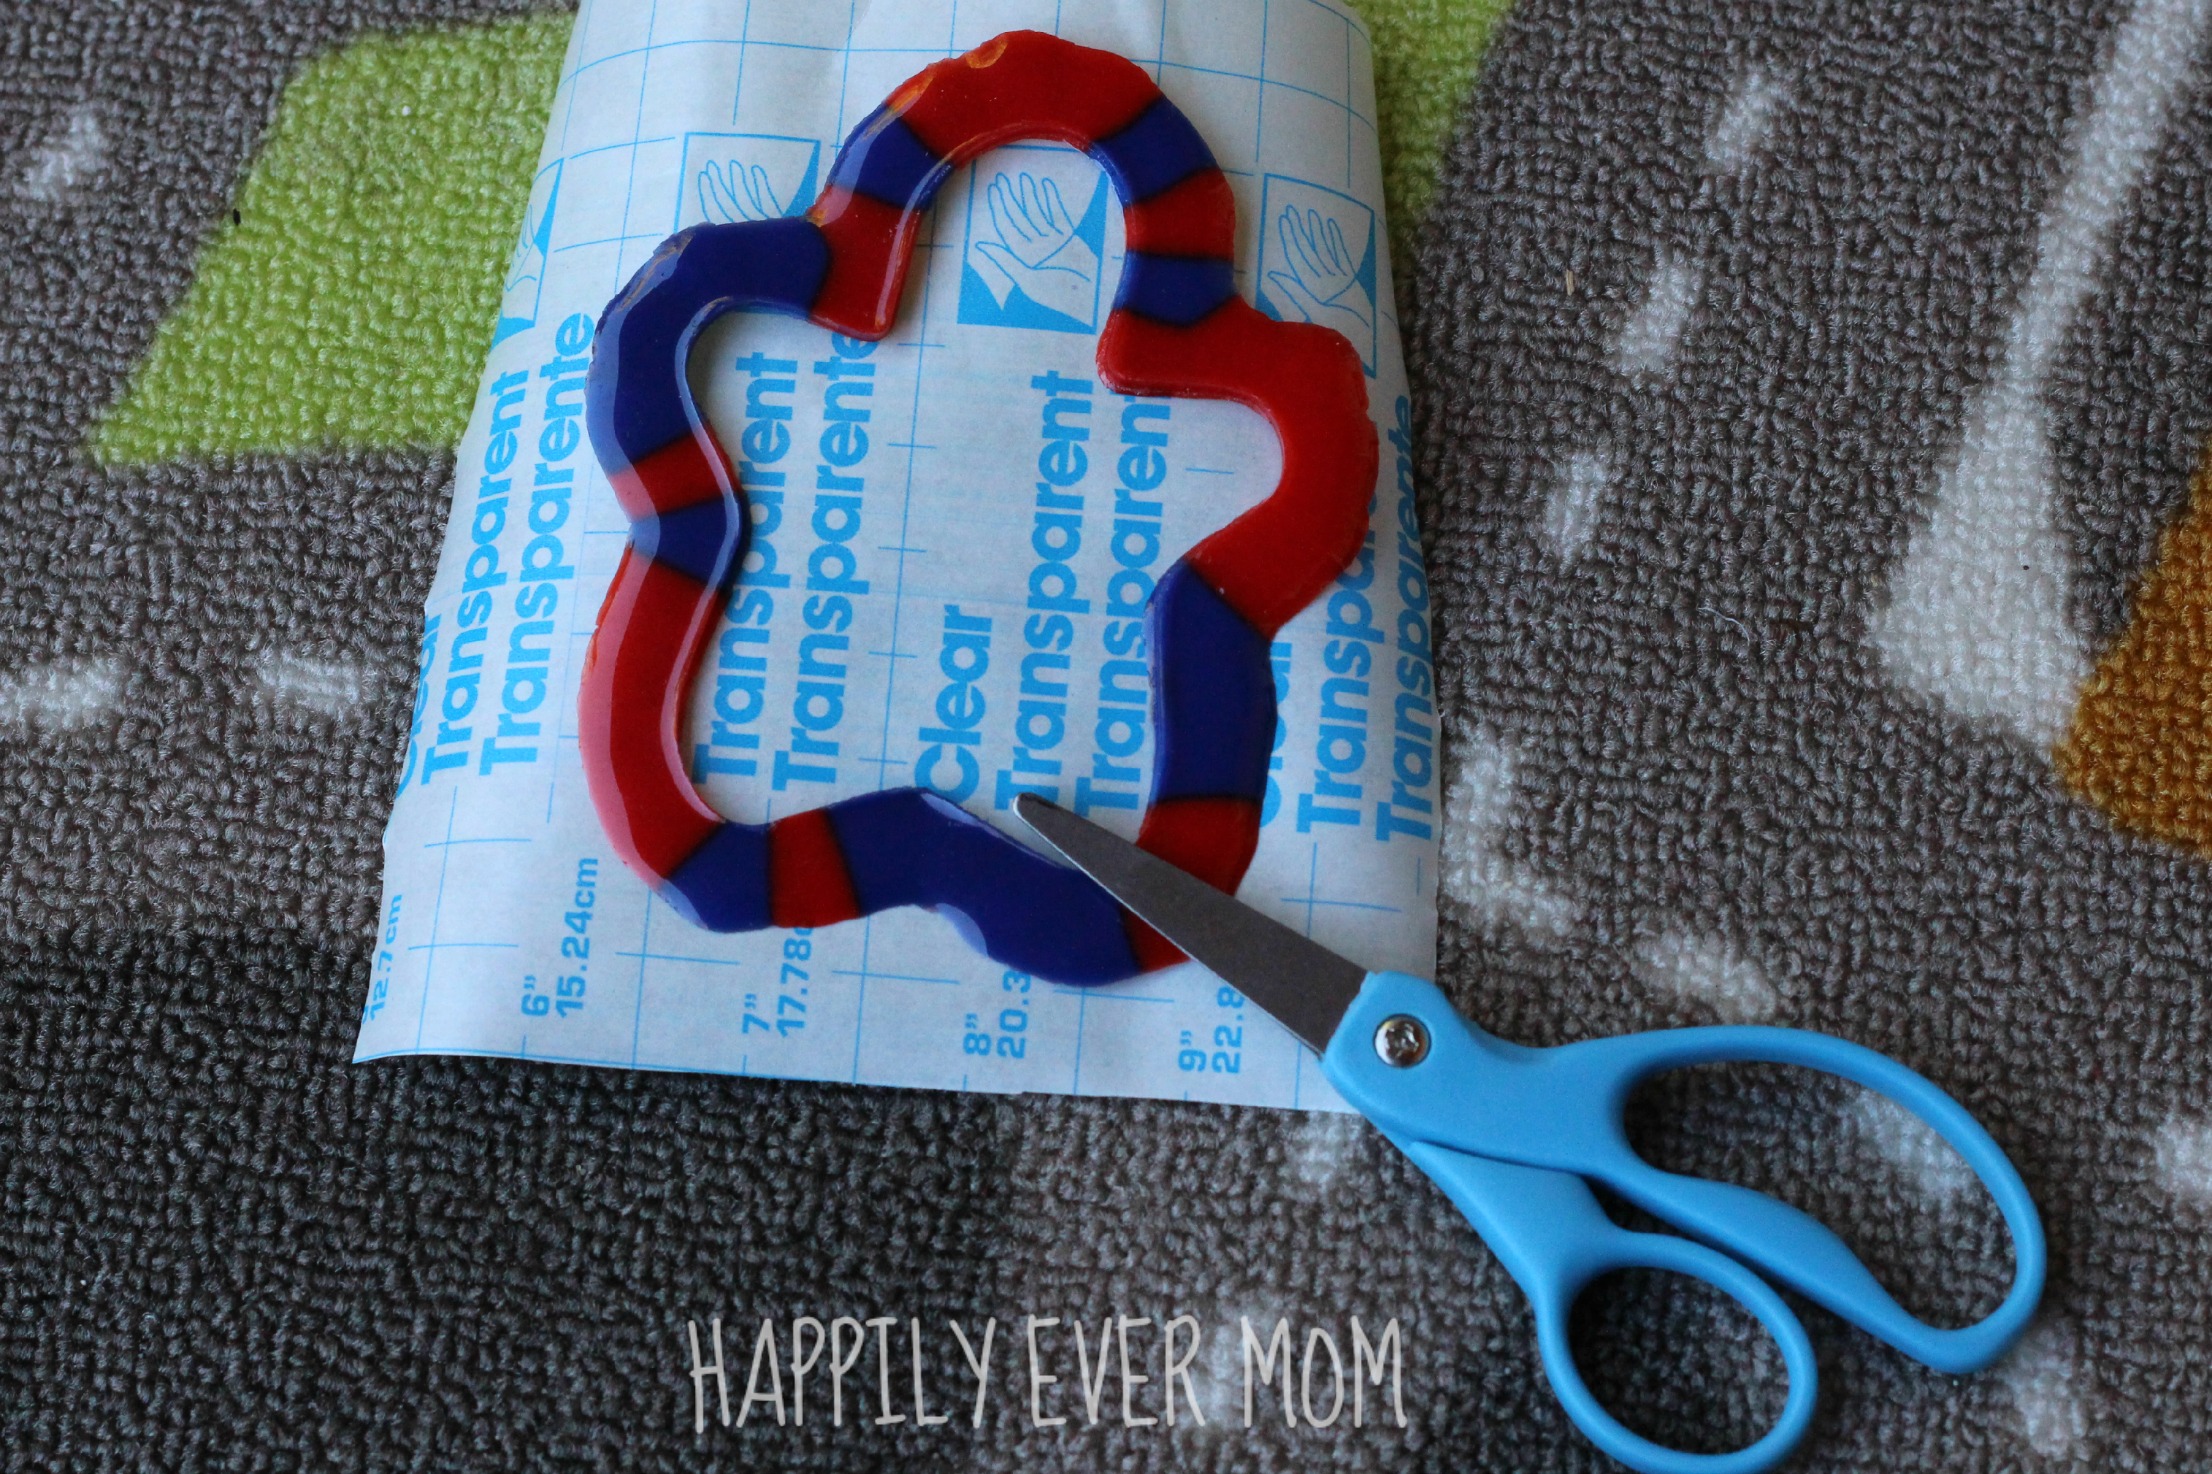 When our outline had dried (very quickly I might add), I cut a square of contact paper to add tissue squares.
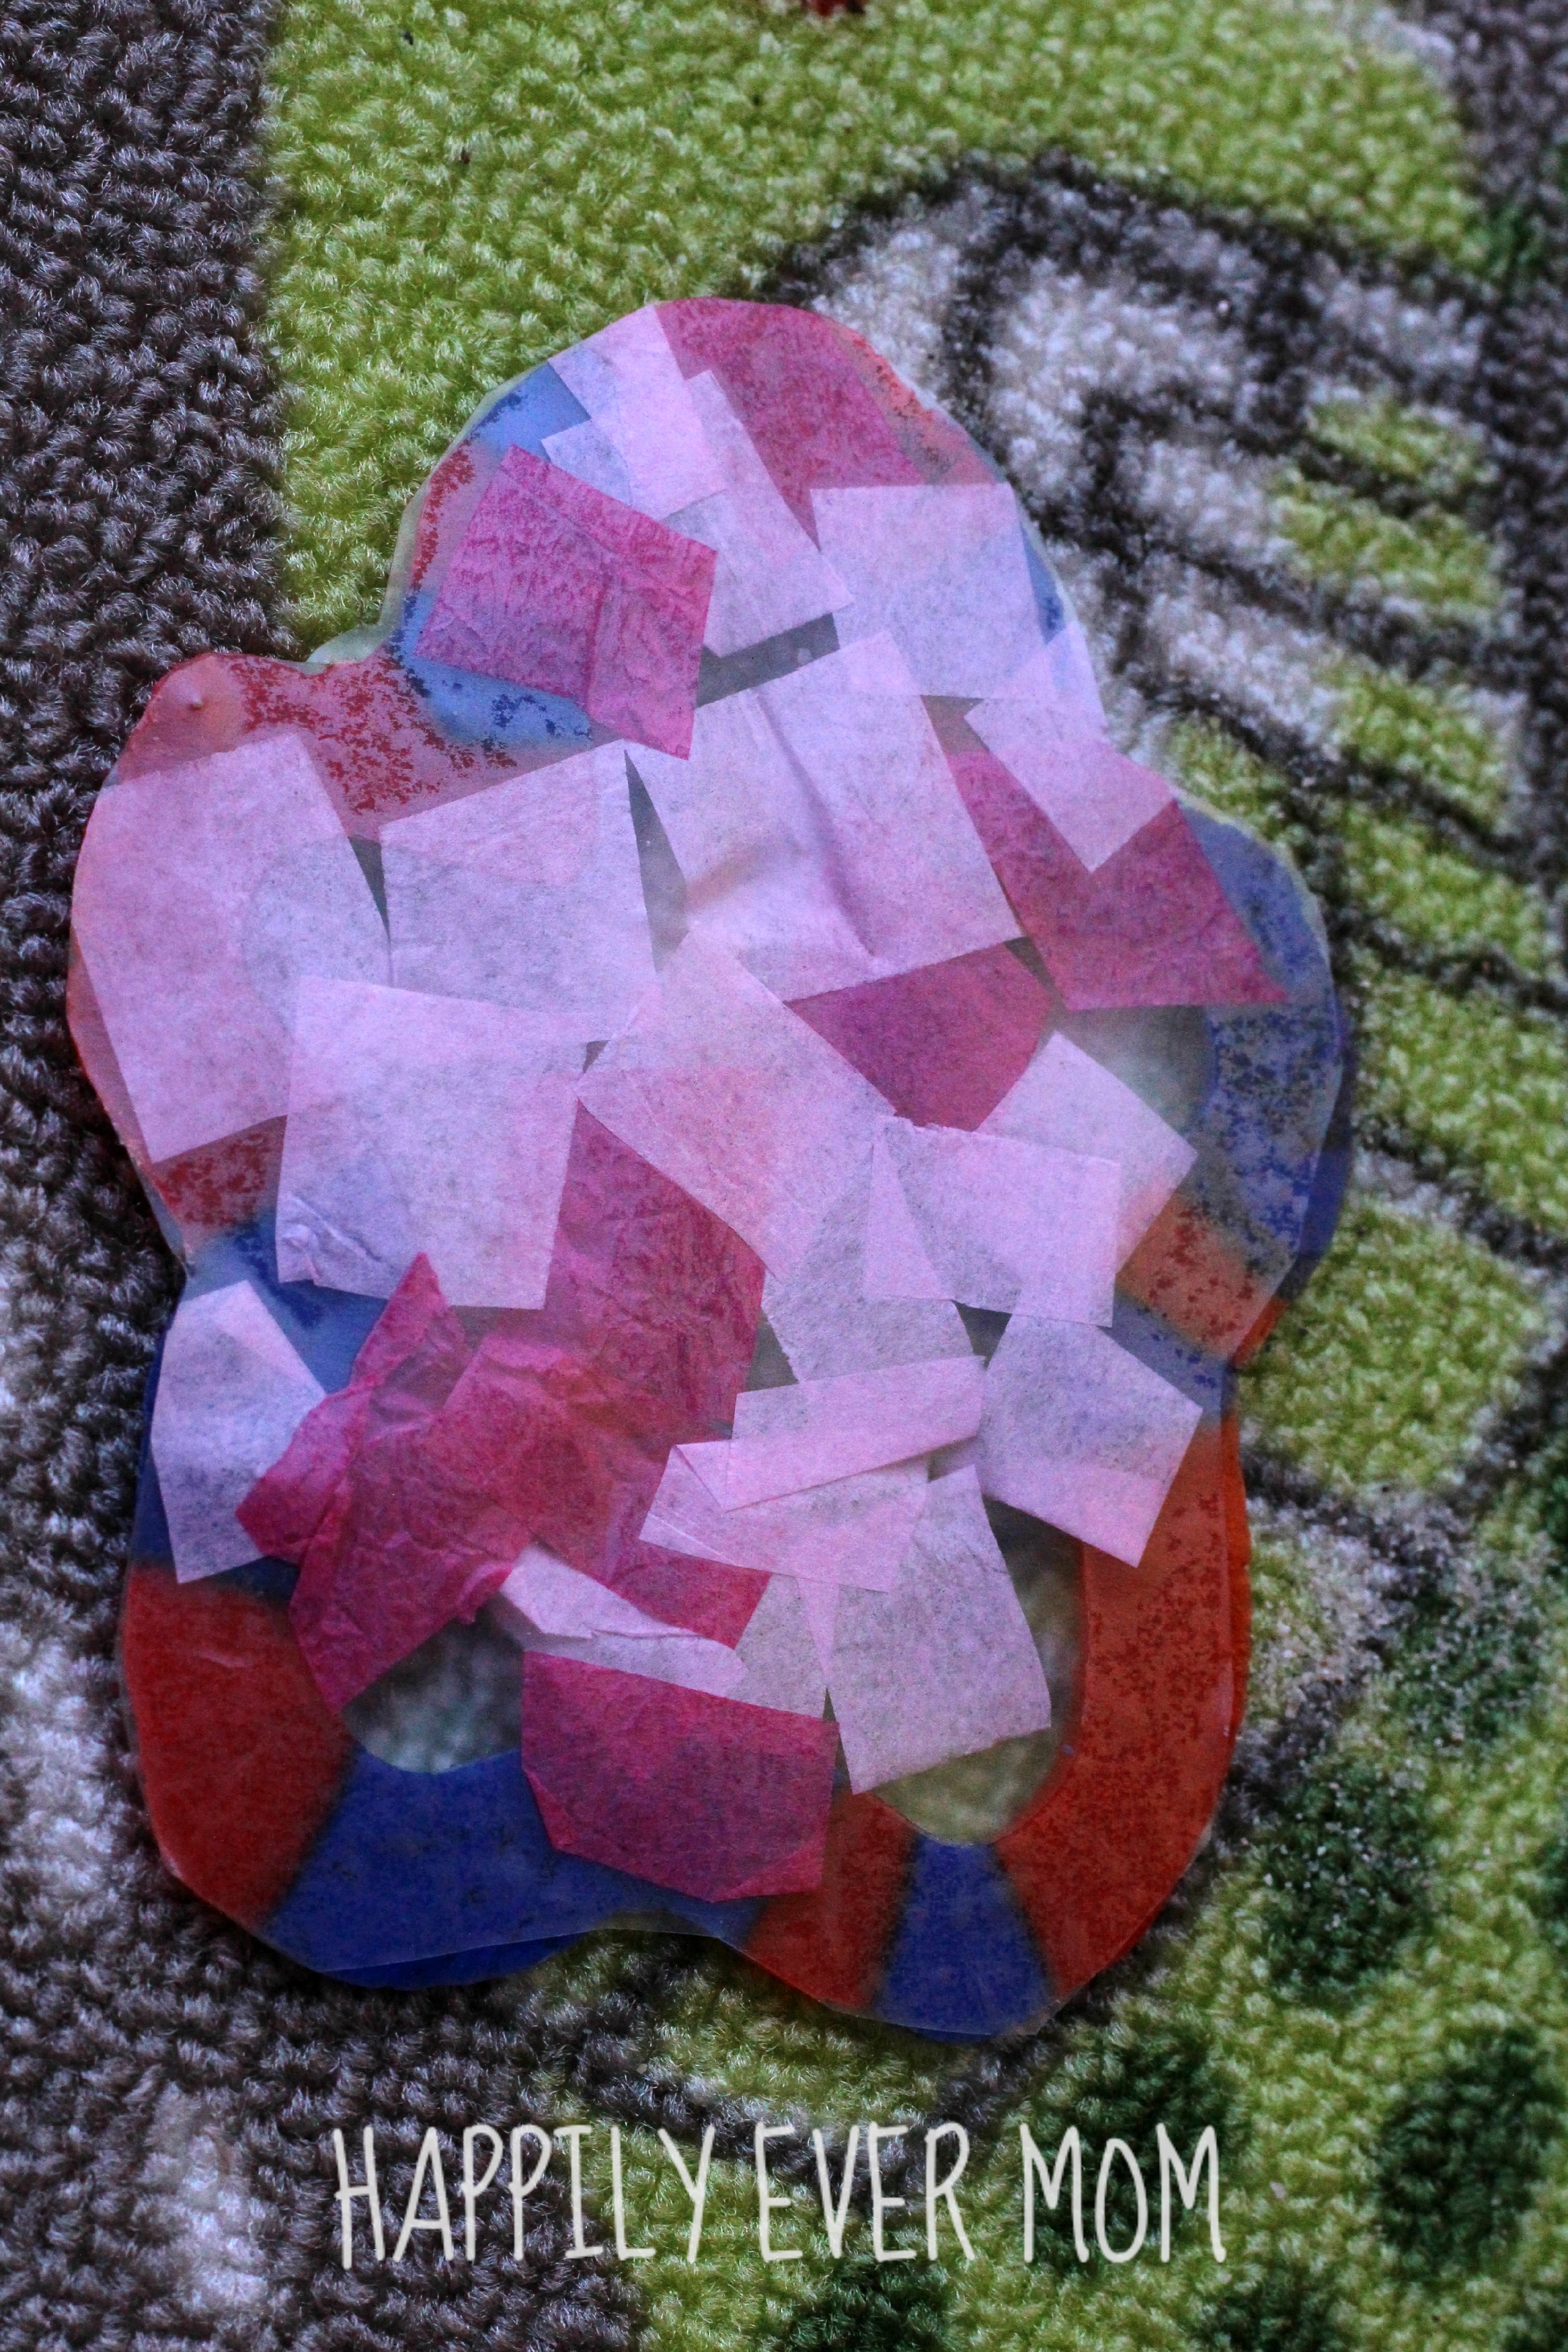
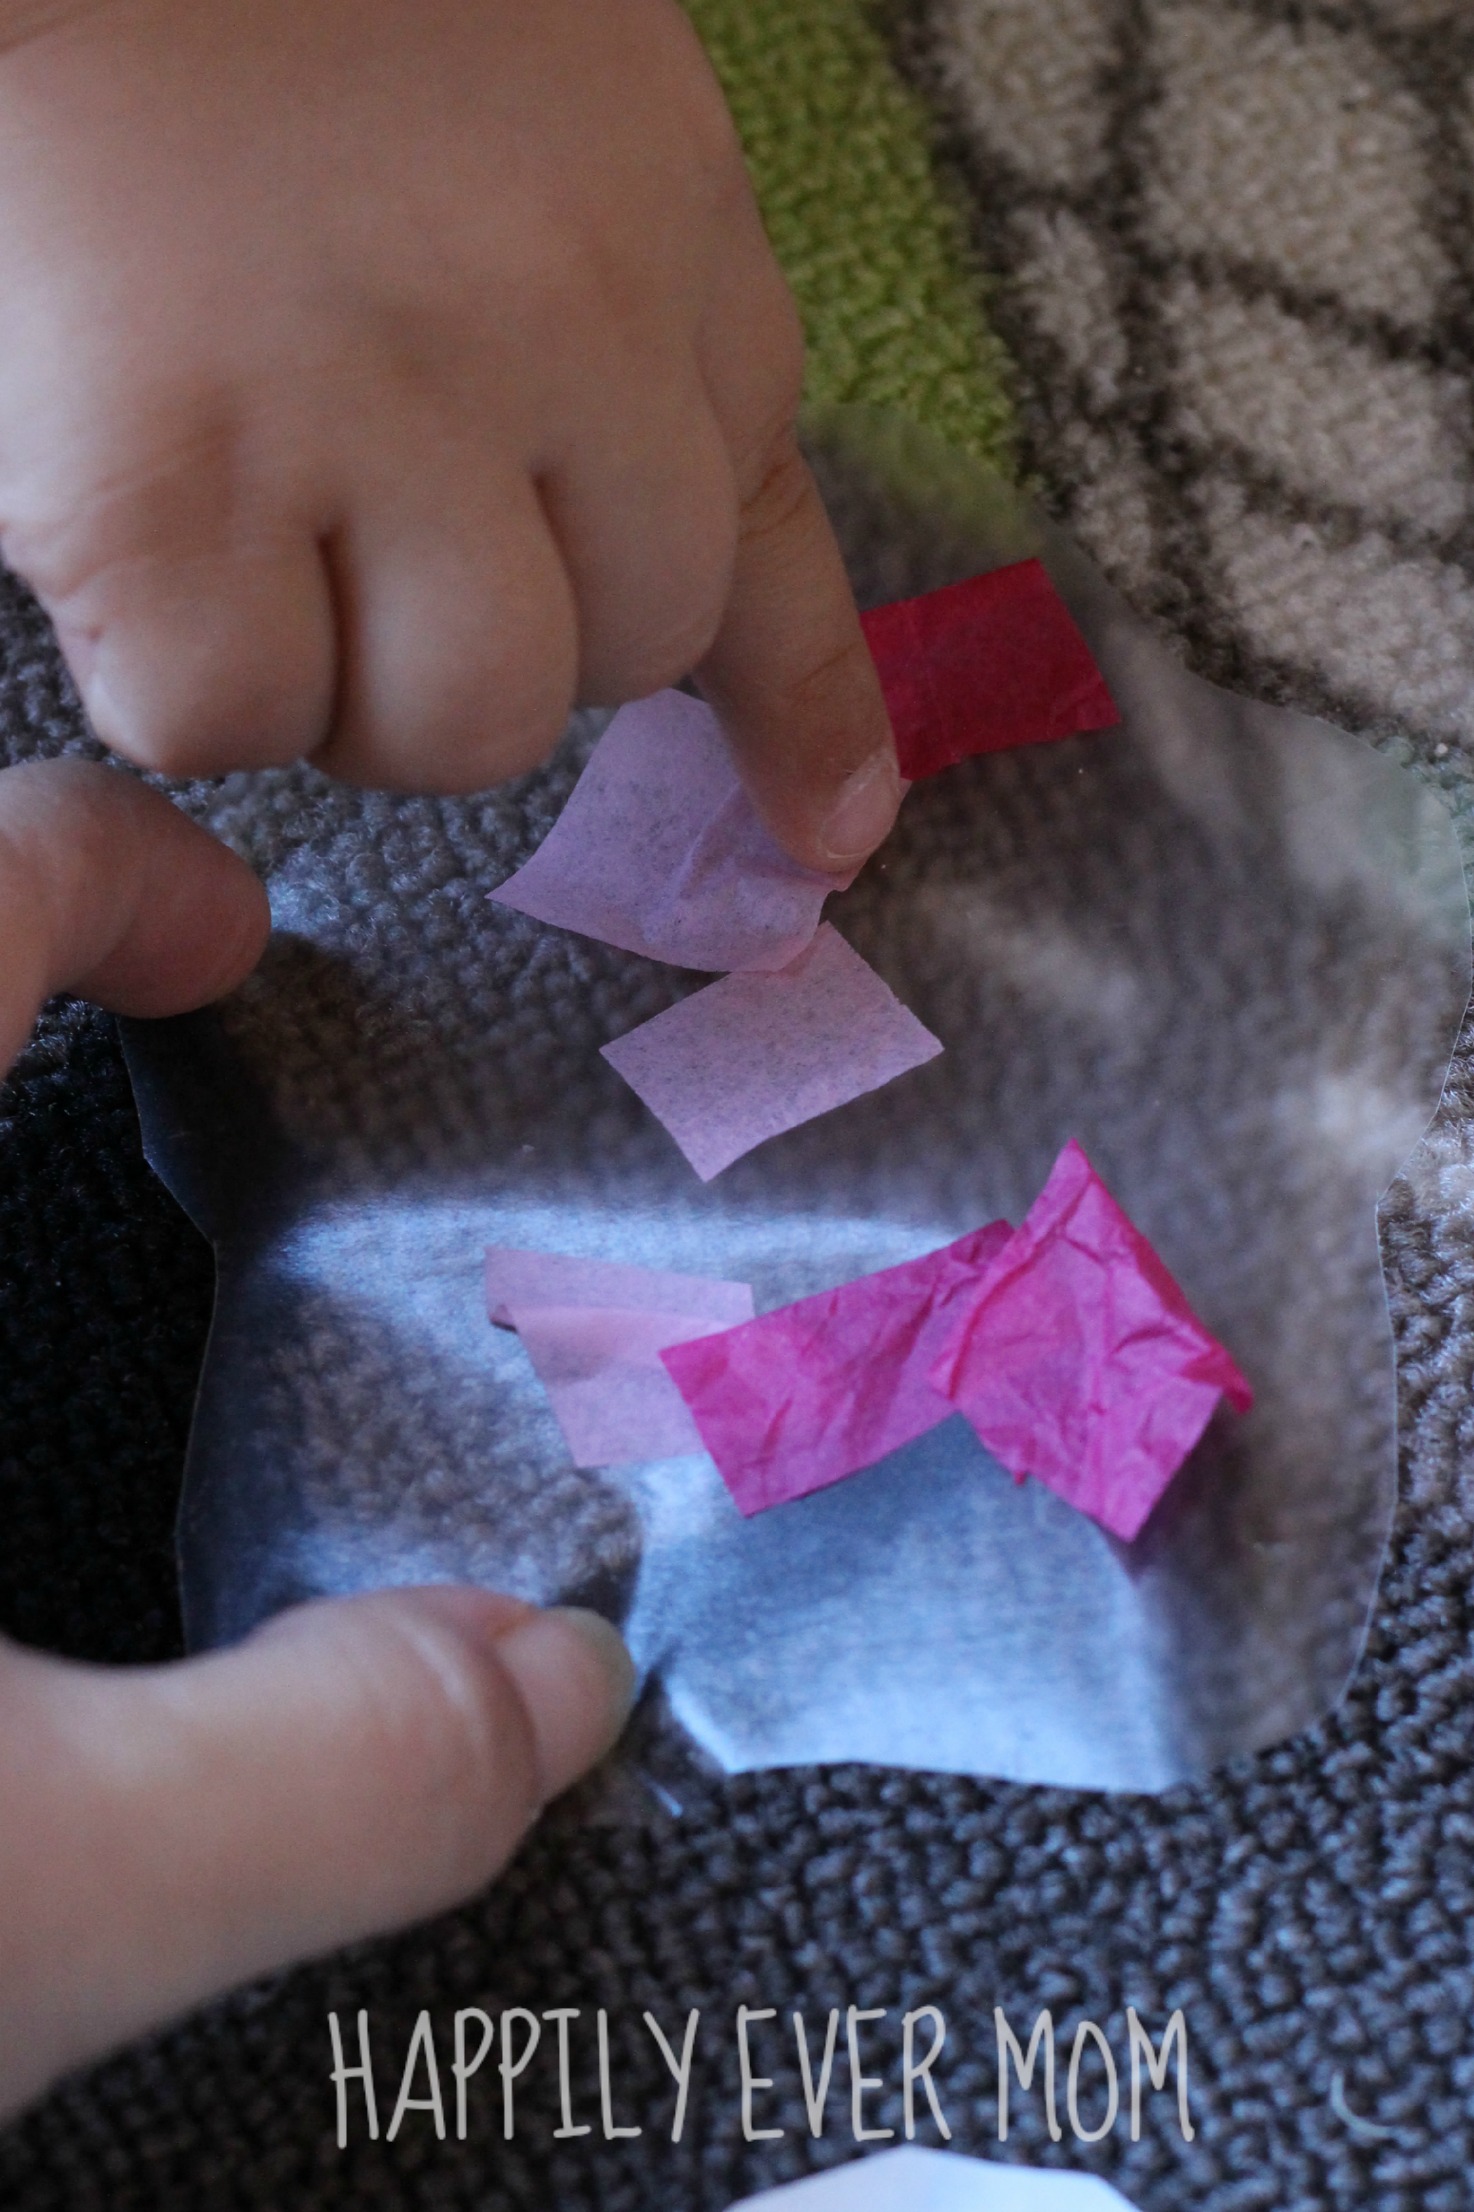 We added pink tissue paper, as my daughter requested that color, and stuck the sticky square to the back of the pony bead outline. Be sure not to cover too much near the edge of the contact paper or it won’t be sticky enough to adhere to the melted pony beads.
 You can see little bits of contact paper and tissue paper that came around the sides of the pony bead outline. I took some scissors and trimmed the excess contact paper off.
 Here’s a look at the back.
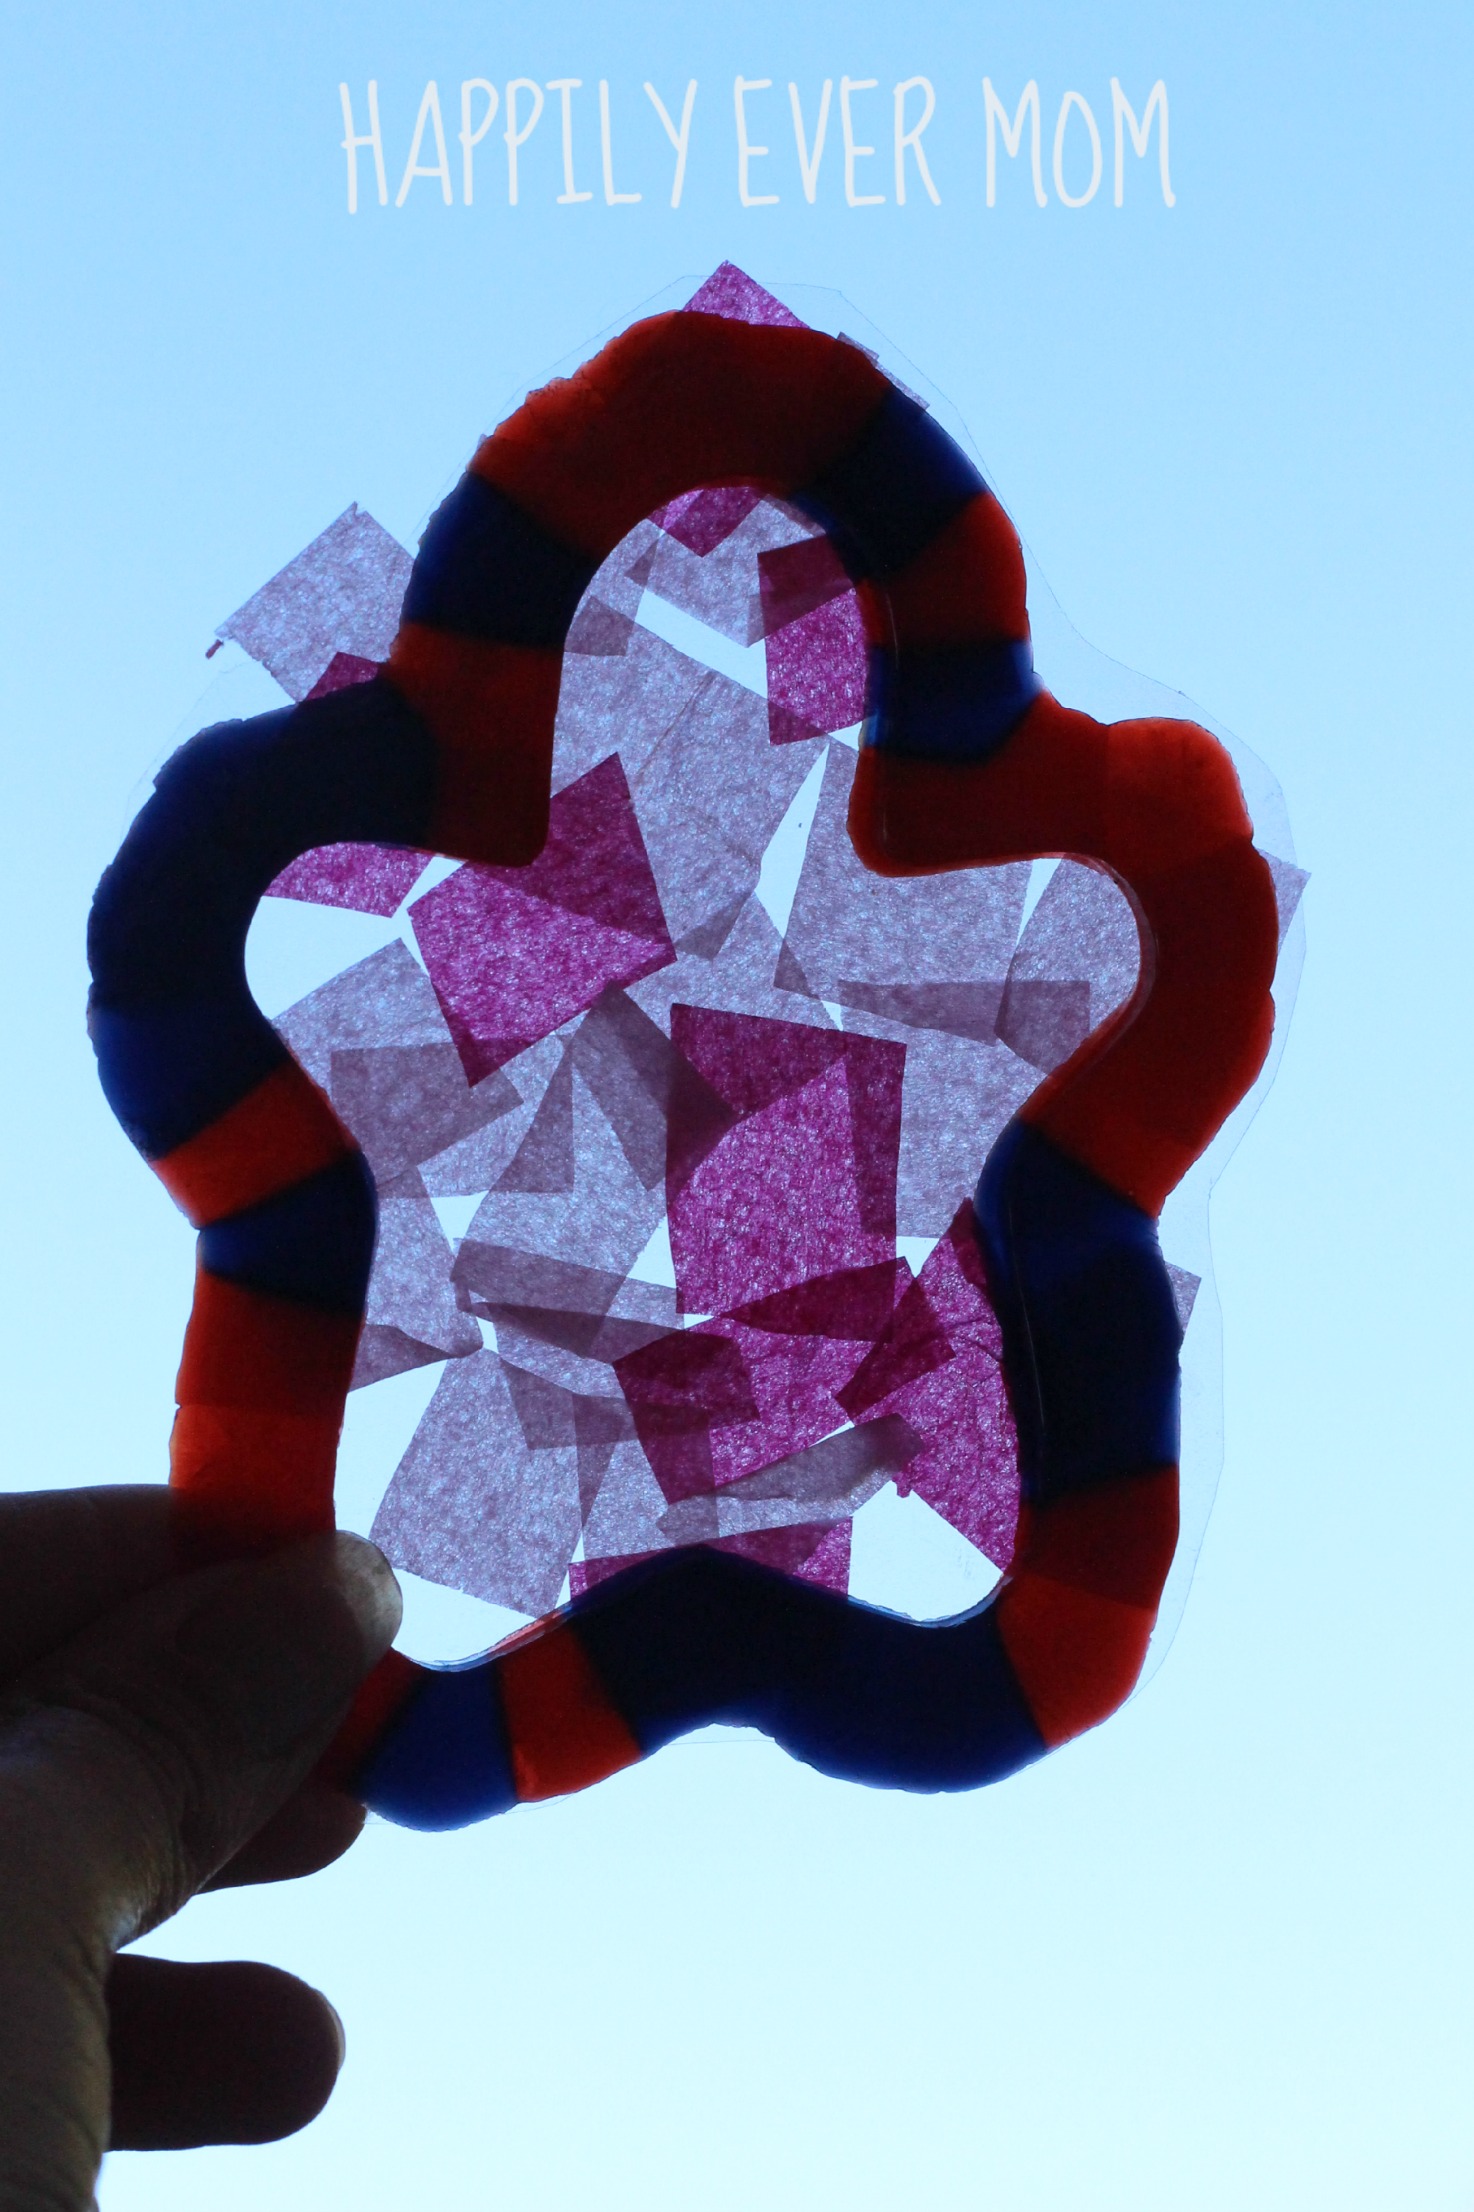
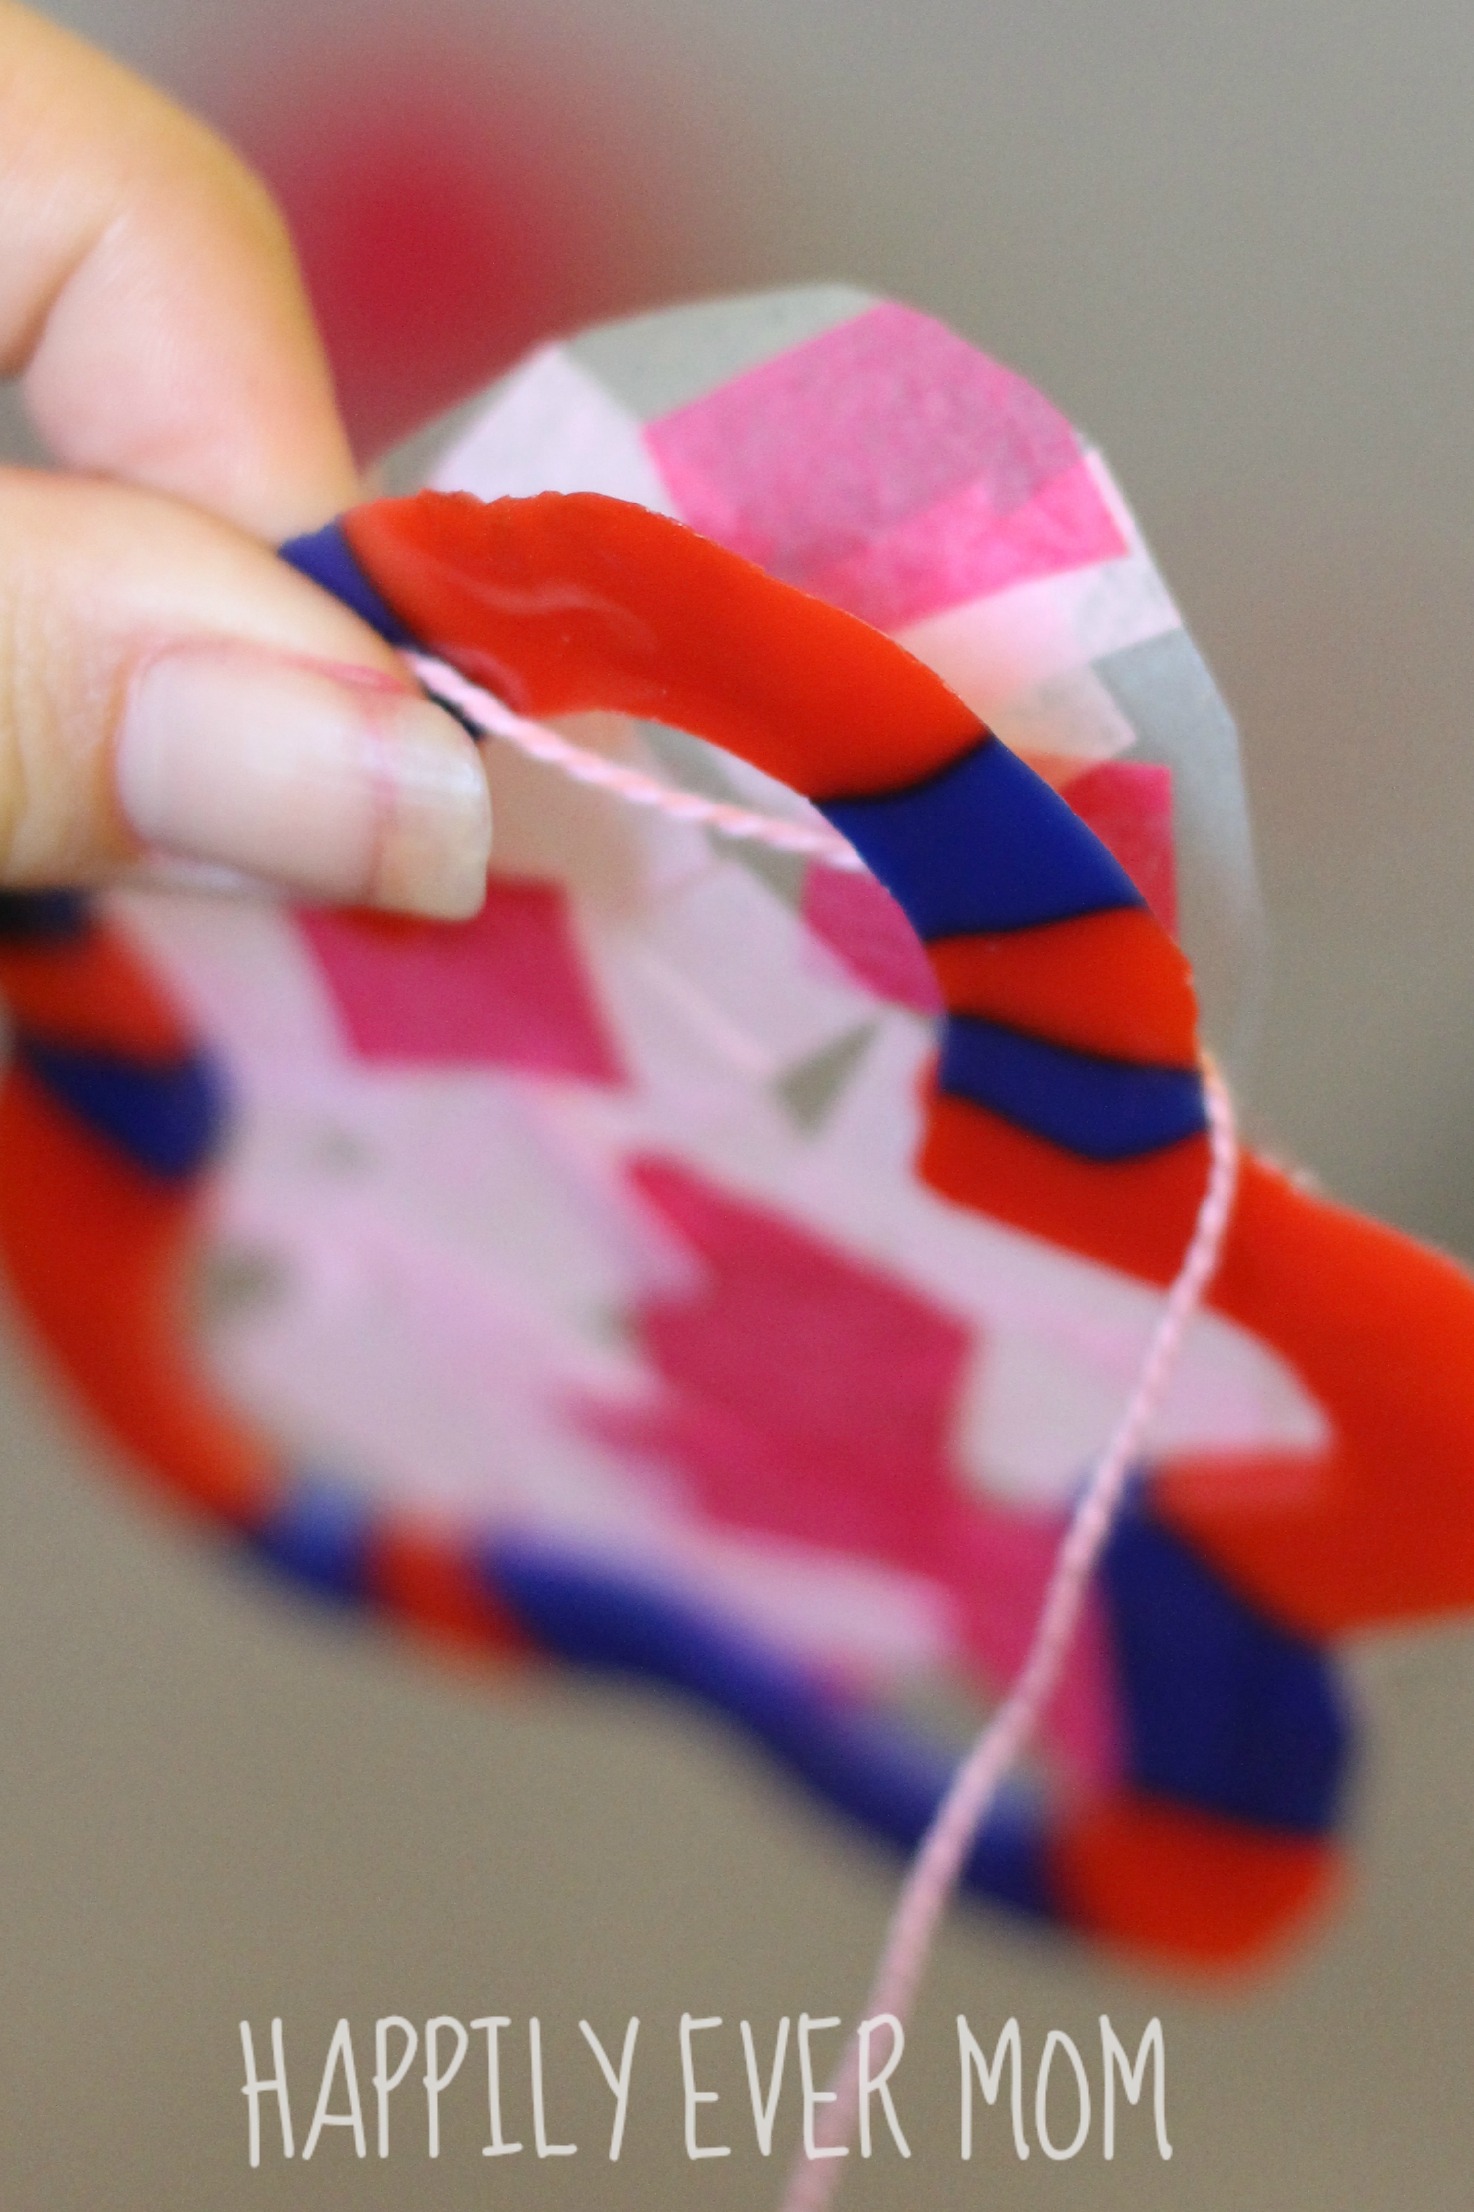 Then, I peeled back a little bit of the contact paper towards the top of the outline. This space allowed me to thread some string through in order to hang the sun-catcher!
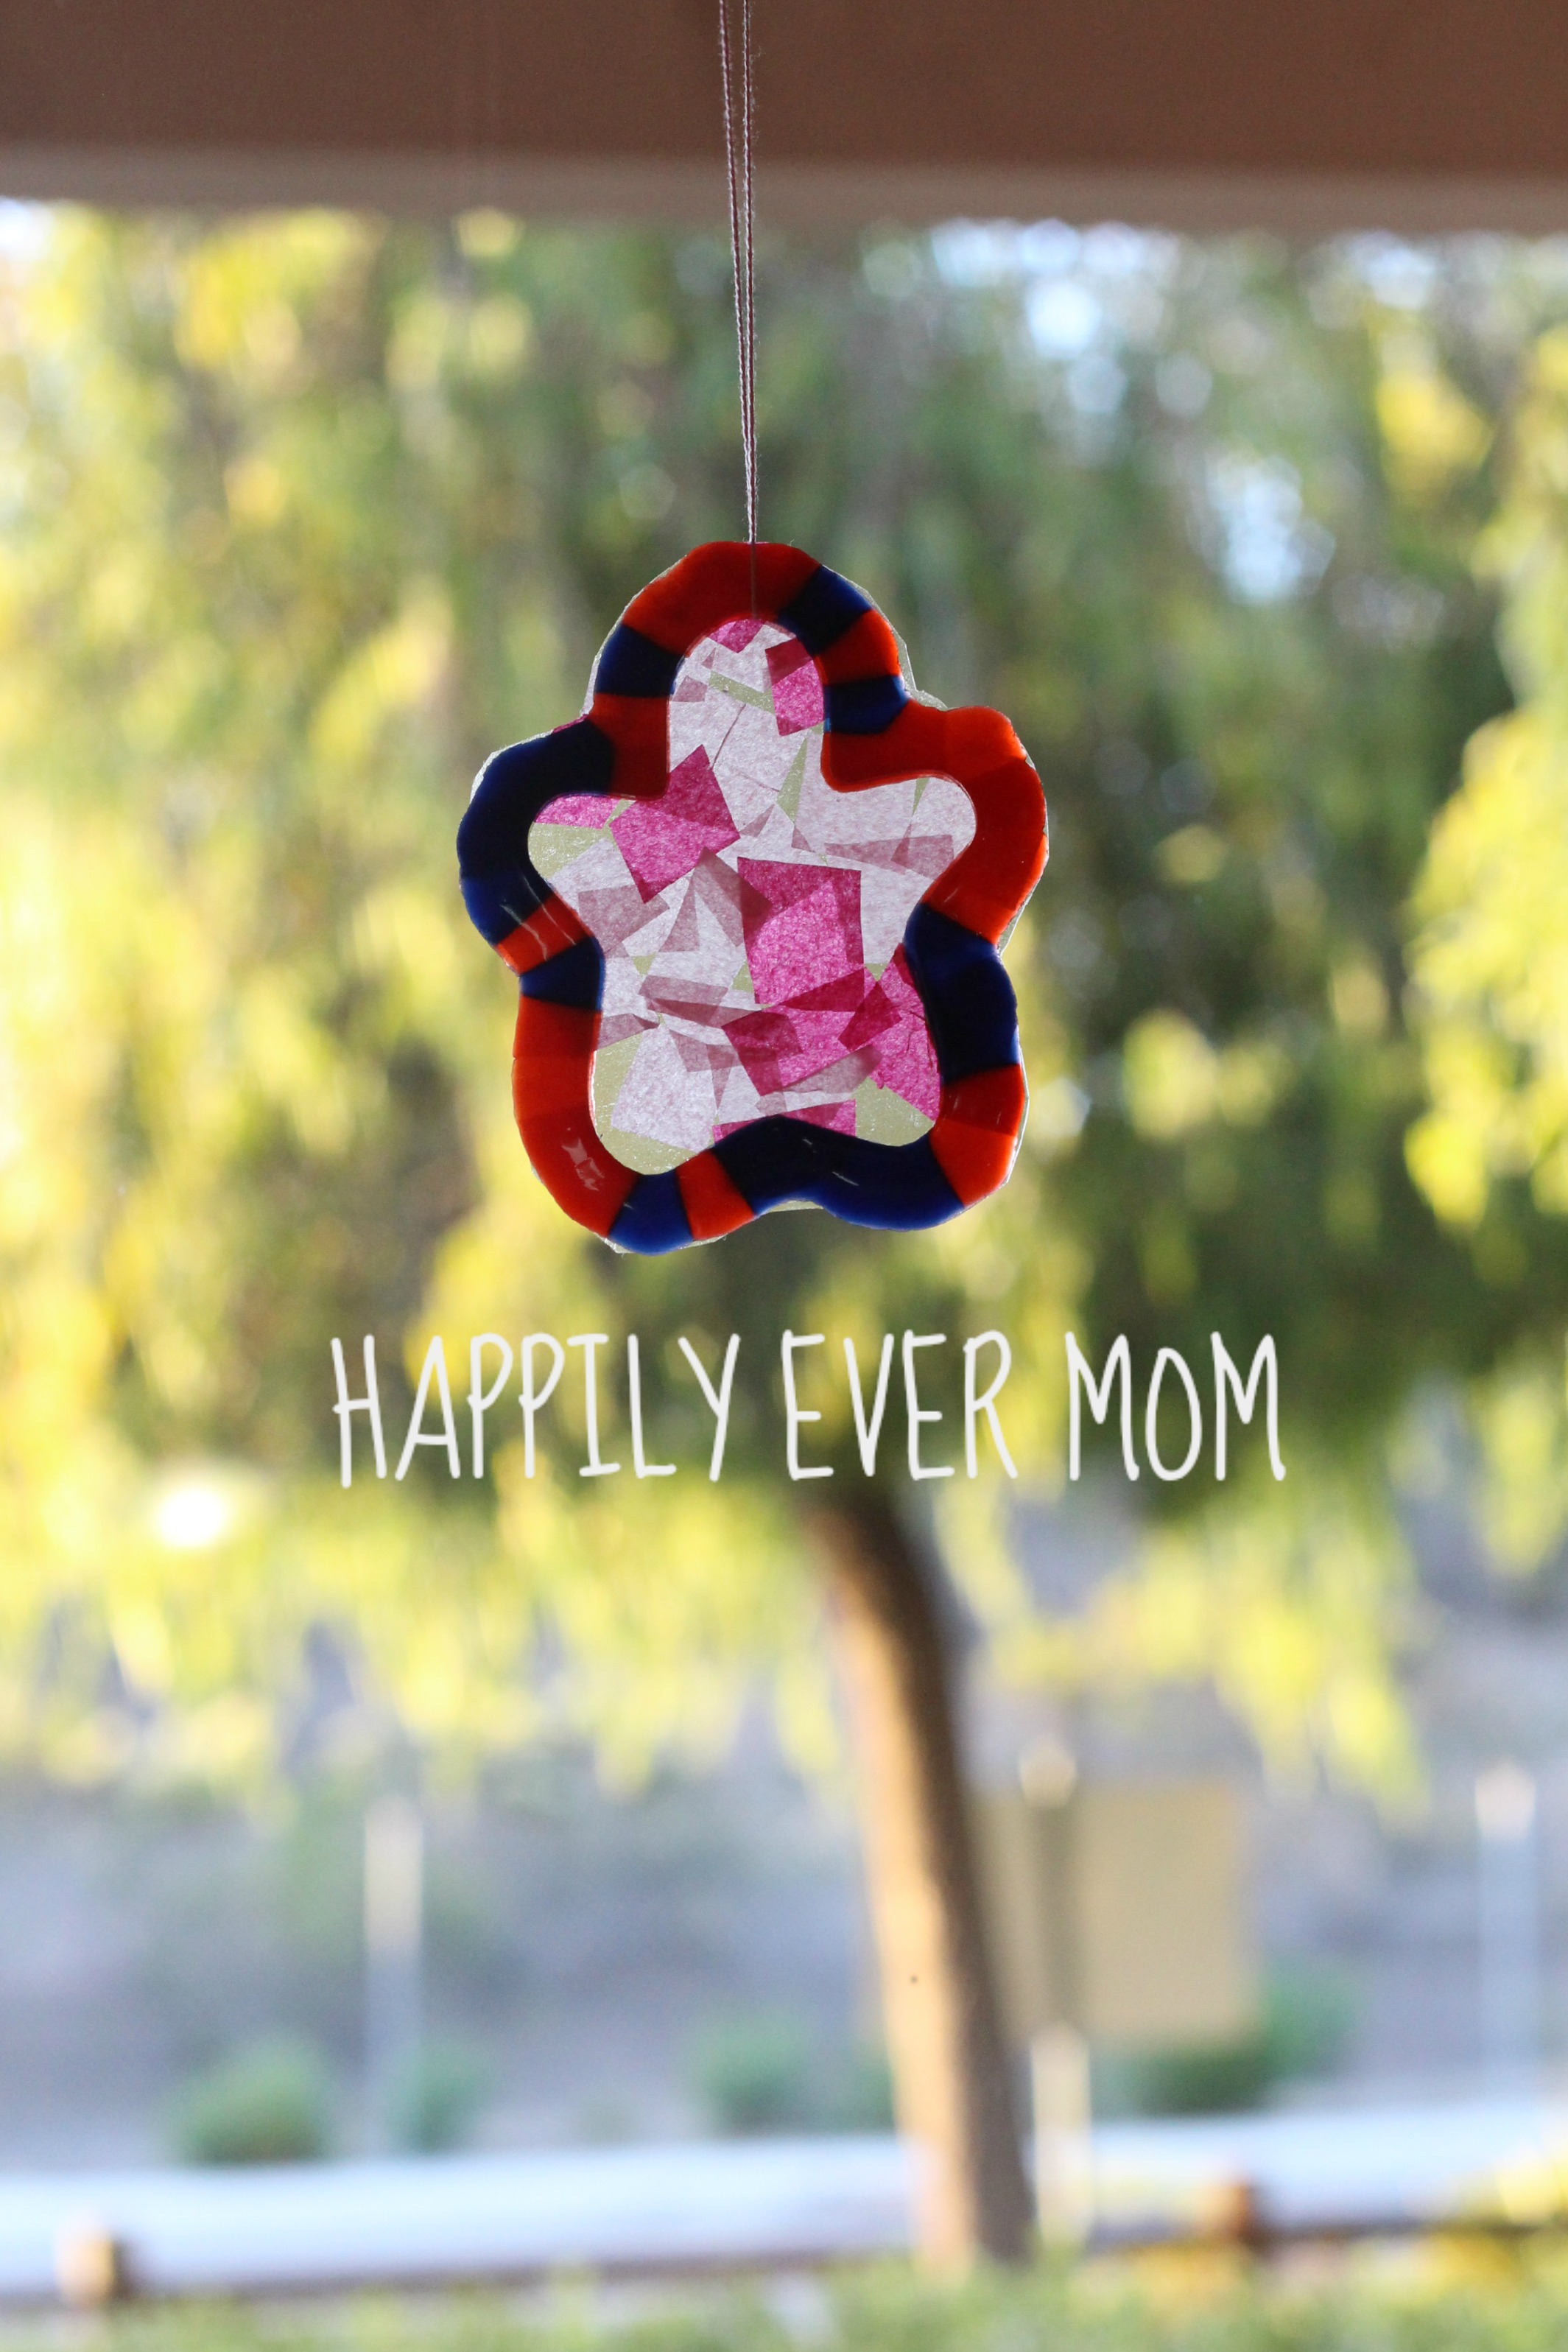 And, here it is! So…you might be wondering: where’s the learning? Here are a couple ways to learn throughout this project:
- Observe – Before putting the pony beads in the oven, ask your child what the beads look like?
- Predict – Ask something like, “what do you think will happen when the beads are heated in the oven?”
- Observe – Watch the beads as they melt (but, keep a safe distance!)
- Compare – When you take the melted beads out of the oven ask your child something like, “So what happened?!”
- Vocabulary – L and I discussed how the beads looked after coming out of the oven: smooth, flat, shiny, etc…
- Experiment: After hanging the sun-catcher, put a dark piece of paper behind the sun-catcher in order to block the light. What happens to the sun-catcher?
- Observe – look at your sun-catcher at night. How is it different? Why is it different?
I hope you enjoy this project as much as we did. You know how people have family stickers on the back of their cars? Well, were going to have a family of sun-catchers in our window – who’s joining me? 😉

Check out the other posts in this series:
Washi Tape on the Light Table from And Next Comes L
Reggio Mirror Portraits from Racheous
Black Light Glowing Shaving Cream from Where Imagination Grows

In full disclosure, I received some of these craft materials for free from Craft Project Ideas. Although they provided me with some materials, all of the ideas and opinions on this page are my own. Regardless, I love checking out their website because they have great materials and ideas all in one place! You can find them here on Facebook, Pinterest, and Twitter.
Gorgeous! Love how you used the pony beads outside the cookie cutter.
Loved this project. It is on the “cookie cutting edge”! 🙂
Brilliant! I love these! I never even thought about doing the beads on the outside! Great idea! 🙂
I LOVE your “out-of-the-cookie-cutter” idea 😛 I will be adding pony beads to the trolley next time we are out 🙂
Great idea. It looks easy enough when you have all of the directions for us. We may try this.
will comment back – http://www.oldfashionmom.com/
I love this craft idea! Thanks so much for sharing at After School.
A lovely craft idea.
They worked out a treat! I am featuring this on Triple T Mum Kids Co-Op post today.