Our boys are major creators. They can also be masters of destruction. To help keep their endless energy moving in a positive direction, I try to have lots of materials available for building. It inspired us to make a mini maker kit, so that my kids could do different projects at home.
Why We Needed a Mini Maker Kit
While my toddler is mostly focused on blocks and duplos, my older son enjoys building with loose parts. Very few things make it into our recycling bin because he sees the potential in every empty egg carton, milk jug, and cracker box.
To him, these things are not trash, they are the materials for his next big project.
I love that my son is a budding inventor. I do my best to save things for his creations. But sometimes the piles of hummus containers, jam jar lids, and rubber bands all over our kitchen counter make me feel like I’m stuck in an episode of Extreme Hoarders Crafters Edition.
The other day I stood prepping snacks in the kitchen, and feeling totally overwhelmed by the clutter of loose parts piled all around the counter.
I knew I had to get organized to make the materials more manageable.
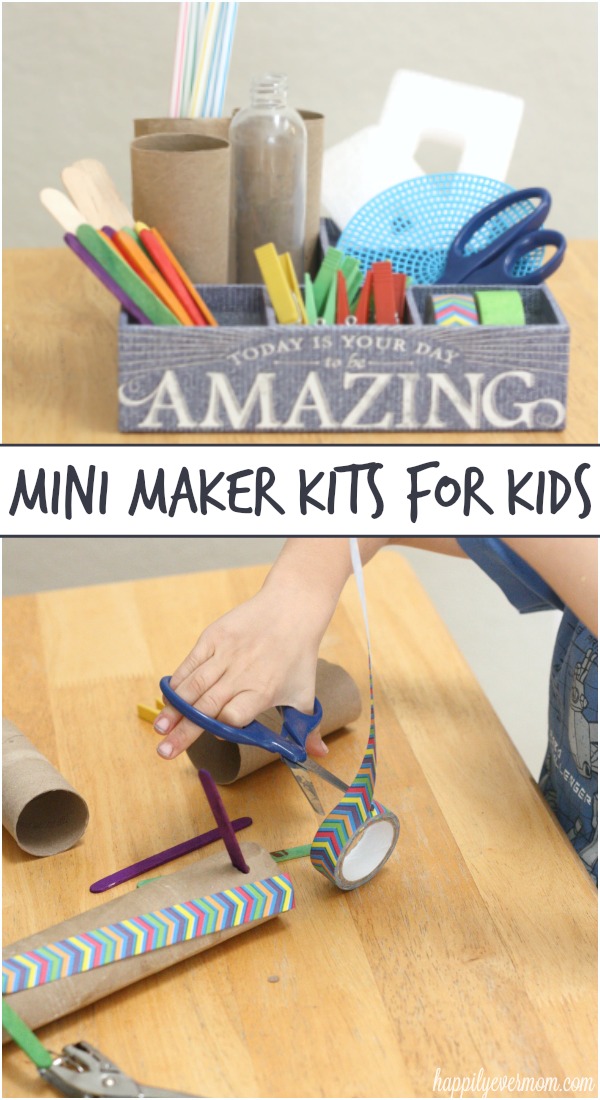
The next time I was at the craft store, I saw a cardboard tray in the dollar section and I grabbed it.
At home, I filled each space with some loose parts.
What You Need to Make an Upcycled Maker Kit
- A tray or container. We really like how the individual sections in our tray keep things organized.
- Recyclables. Everything from cardboard tubes, to jar lids, ribbon pieces, and cut up cardboard sheets (think cereal, and mac n cheese boxes)
- Something to hold it all together: rubber bands, tape, wire, paperclips, glue, clothespins.
TIP: Check to make sure the glue or tape works well with your materials.
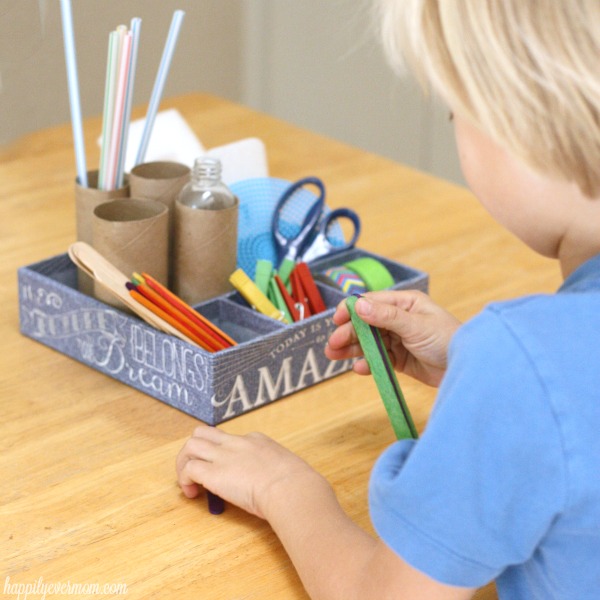
My son was so stoked to find his maker kit waiting on the shelf, he couldn’t wait to start building. Unfortunately, the tape I included in our kit wasn’t sticking well to the cardboard, so after some frustration we got out the hot glue gun.
He rescued some more loose parts from the recycling bin (are there ever enough?) and designed his own rocket. We were both pleased with the results.
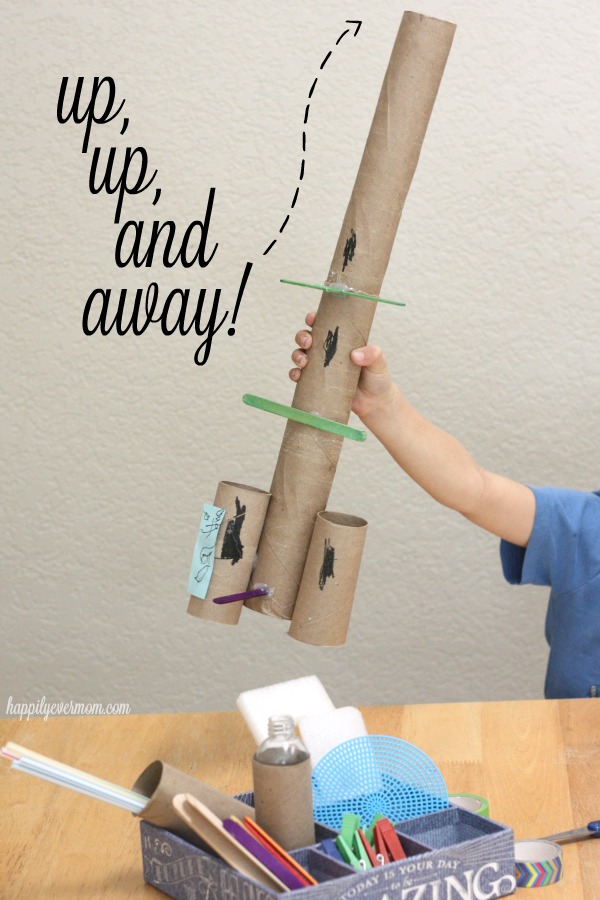
We’ll be restocking this kit to fuel our son’s creativity, while hopefully keeping our counters a little less cluttered.
More Art Projects at Home from Happily Ever Mom

Leave a Reply