This is a sponsored post written by me on behalf of Miracle-Gro Gro-ables for IZEA. All opinions are 100% mine.
While I am someone who shouts from the rooftops that I have a brown thumb (really, don’t let me watch your plants while you’re on vacation…I’ll probably kill them), I have a husband who absolutely loves gardening. He has taught me a thing or two about gardening and how to garden with our kids. But, I still don’t quite have the skills to garden on my own (again, without killing things…).
So, I was thrilled when Miracle-gro Gro-ables, a Happily Ever Mom sponsor, reached out to us about Gro-ables. I had just purchased a few Gro-ables for a gardening basket that I was putting together just a few weeks prior, So, I was thrilled to try them out for myself! All I had to do was rip of the label, put the Gro-ables in the dirt, water, and wait 2 weeks to see my plants grow. That’s it. This brown thumbed Momma couldn’t wait to try it out! So, the kids and I painted terra cotta pots to house our new Gro-ables and they came out looking SO amazing! You’ll want to try painting these right now…  Let me start by saying that Gro-ables is the answer to this busy Momma’s prayers.
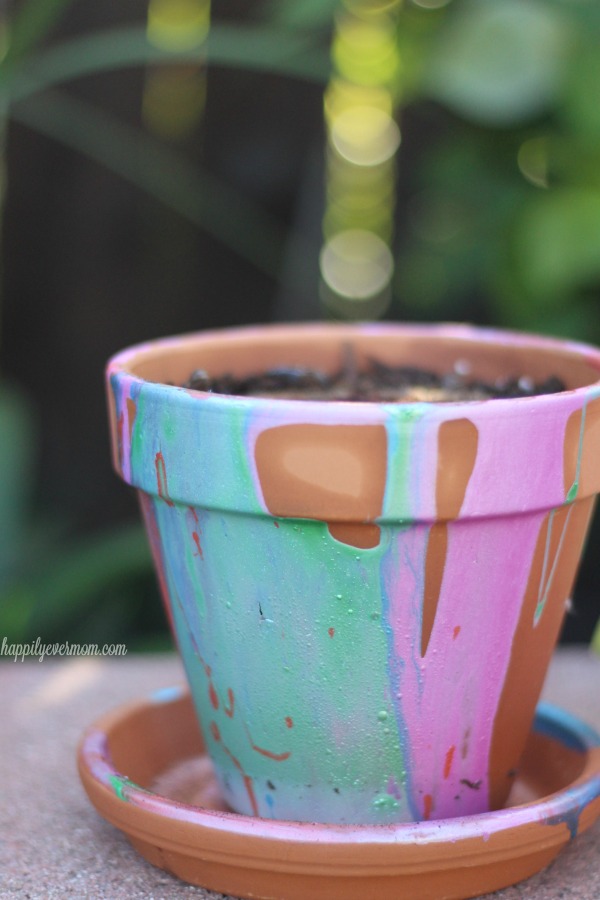
Spring is a time when I’m constantly outdoors with my kids, but I often skip gardening because I don’t know where to start. Gro-ables makes it so easy to start planting RIGHT AWAY with your kids. So much so, that we even had time to do an art project while we were outside. The result was our pour painting pots! While these pots are SO easy to paint, the result is gorgeous! And, it’s the perfect place to start planting with your kids.
Supplies to Make Pour Painted Pots
- Terra Cotta Pots
- Tempera Paints
- Water
- Small cups
- Gro-ables (check out the Gro-ables Project)
- Potting mix
How to Make Pour Painted Pots
- Dilute your paint first. I found that a 1:2 ratio worked well (1 part water, 2 parts paint). Just make sure you have more paint than water. Mix well.
- Put your terra cotta pot upside down on a surface that can get messy. We put down white butcher paper underneath our pots.
- Then, let kids pour the paint cups all over the pots. It’s that simple, but I’m telling you, you all will be mesmerized by the effects of the paint!
Watch our video to see exactly how we made them and how we planted our Gro-ables…
Next Step, Add Your Gro-ables…
- Once the paint has dried, add potting mix to each pot.
- Dig a small hole in the middle of the potting mix to place your Gro-ables. But, don’t forget to rip off the label on top of your Gro-ables first!
- Make sure the Gro-ables top is flush with the top of the potting mix.
- Then, water.
- Water daily for two weeks and watch your plants grow!
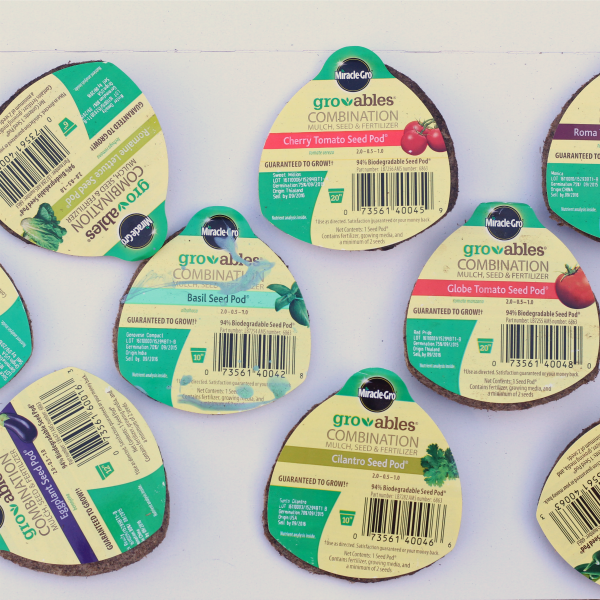 My kids chose to plant romaine lettuce and zucchini, but there are so many other seeds to choose from. Have fun filling up your garden!
More Posts from Happily Ever Mom


Leave a Reply