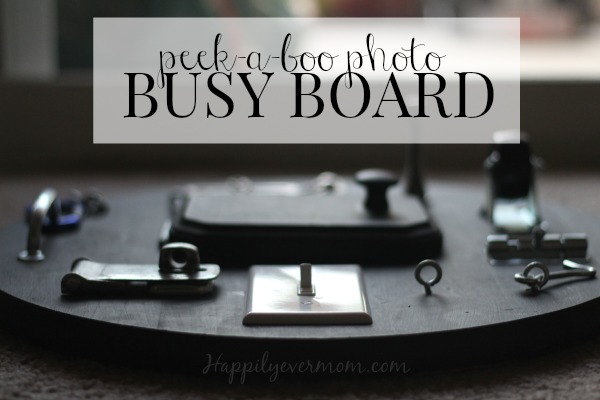
I’ve wanted to make a busy board for a long time.
We finally decided to make the best toddler gift ever for my nephew with a little twist. If you’re new to Happily Ever Mom, you may not know that we love photos. My camera is my third child and I always include photos in any activity when I can. So, when my husband thought of adding a door to our busy board for our nephew to open and to close, I knew what had to go underneath…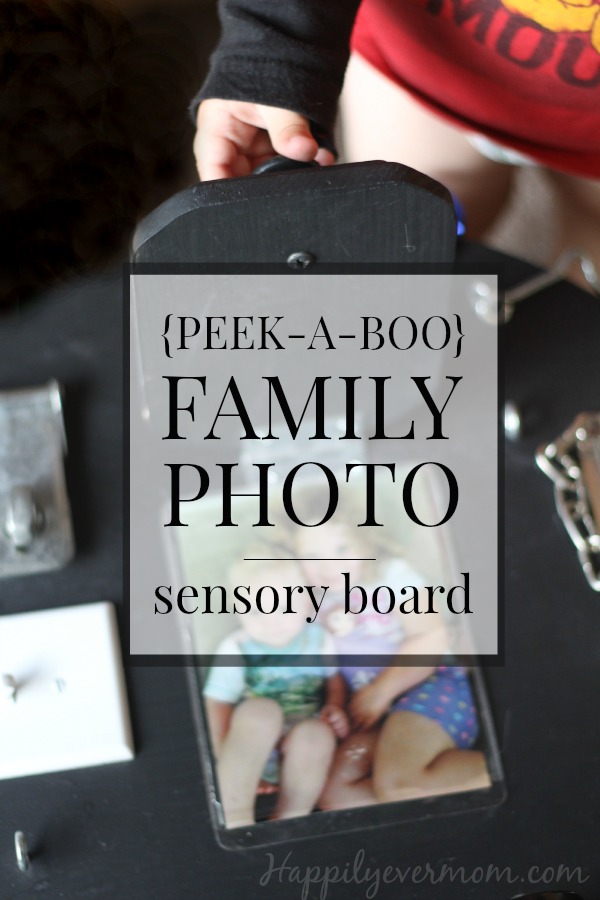
A family photo had to go under the door.
It’s was so cute watching the kids open the door to see their family underneath!
We could have easily gone to the store and bought something, but my husband and I are always trying to make presents for our friends and family from scratch. The best part is that my kids had a BLAST picking out all of the hardware for the busy board which got them involved in gift giving, too!
Materials for Busy Board for Toddlers
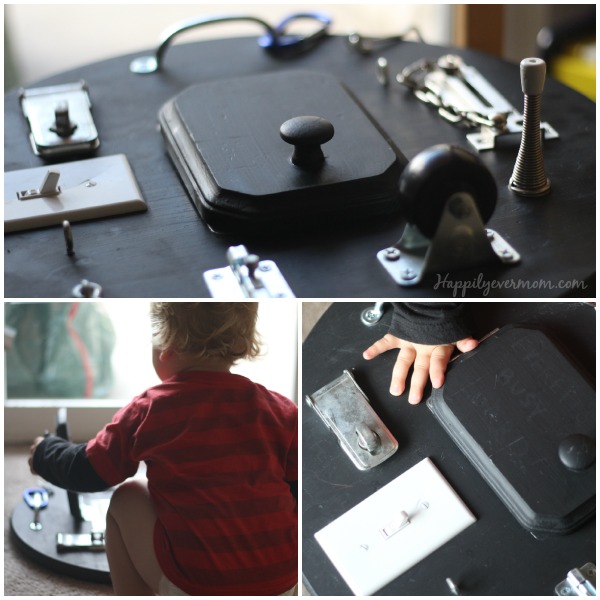
- Board (we bought a pre-cut circle from Home Depot – make sure it’s thick enough to hold screws).
- Hardware (don’t choose something like the light switch unless you have the tools to cut a hole out of the board for the switch to fit <–learned that the hard way). Oh, and while the door stop is genius, it’s not so great when you hear it make the “boing” sound all day long. Don’t say I didn’t warn you!
- Chalkboard paint
- Tape Measure
How to Make a Busy Board
While I don’t have the process photos (because we made this months and months ago), here’s the quick and easy explanation for how to get this done:
- Cut your board for any hardware that needs a hole to fit (like a light switch).
- Paint your board. You’ll need at least two coats of chalkboard paint.
- Lay out all of your hardware on the board and rearrange to fit. We moved things around a few times to make sure that everything could open, close, and “boing” without running into any of the other hardware pieces. Take your time and experiment so you don’t have to make changes later!
- Start adding the hardware. Again, make sure to check everything so that they can truly open and shut. We had to re-do the eye-hook several times because we didn’t measure – it would have been a time saver to measure everything!
- Check the back of the board for any tips of nails or screws that came through the board. Be sure to pound those in for safety.
- Add a clear sleeve under the door (we just used some super glue) and add a family photo to make your peek-a-boo door!
- Play!
We added the chalkboard paint so that we could write words on the board like “open,” “shut,” “roll,” etc. but for preschoolers, you could add numbers next to each piece of hardware to see if they can complete each latch in order, by 2’s, etc.
This busy board can last for many years of hands-on learning!
Follow Katie Joiner | Happily Ever Mom’s board Activities :: Baby Play on Pinterest.
What a great idea! I just sent this to my husband for him to get started on this weekend. Our 17 month old will love it! Thanks for linking up to the SHINEbloghop, I’m stopping by from Letters to Amelia!