Personalized Suncatchers are a creative way to help kids learn their name. We love kids art at Happilyevermom and this activity is the perfect way to sneak in a little learning, too! All you need are a few items and a little trick to make these suncatchers.
 We came up with the idea to help kids learn their name after we made this pony bead suncatcher and sticky art on the light table. Since our topic for the Light and Reflections Series today is literacy, personalized suncatchers seemed like a wonderful way to bring literacy, art, and light together!
Amazon links provided for you – thanks for the support!
What You’ll Need to Make Personalized Suncatchers
- Contact Paper
- Tape (We used washi tape)
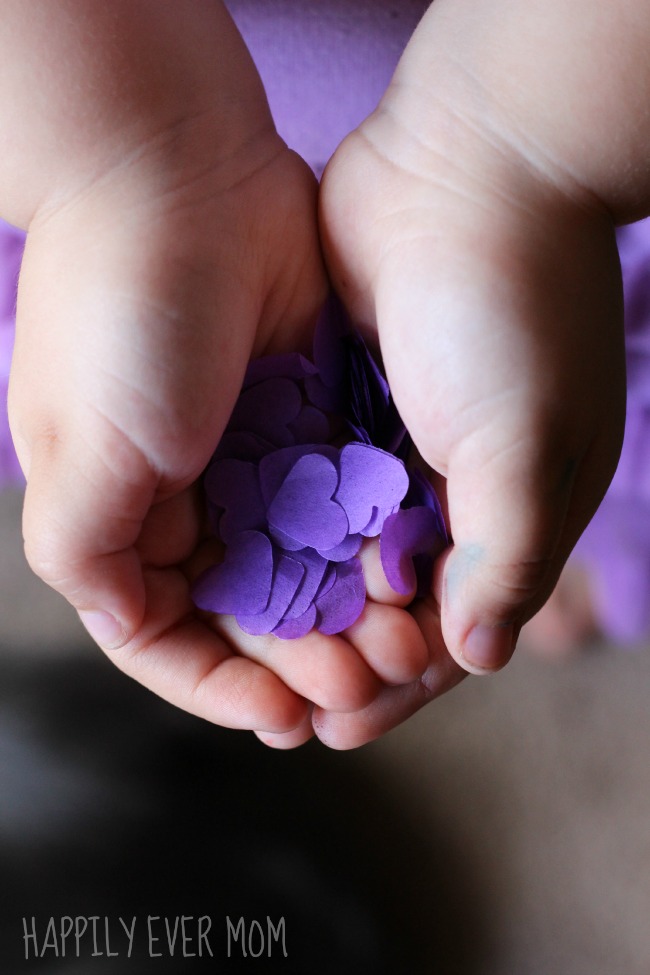
- Tissue squares
- Shaped hole punch (We used a heart-shaped hole punch)
- Scissors
- Dry erase marker
Quick Set-up
- Layer the tissue squares and cut them out with a shaped hole punch.
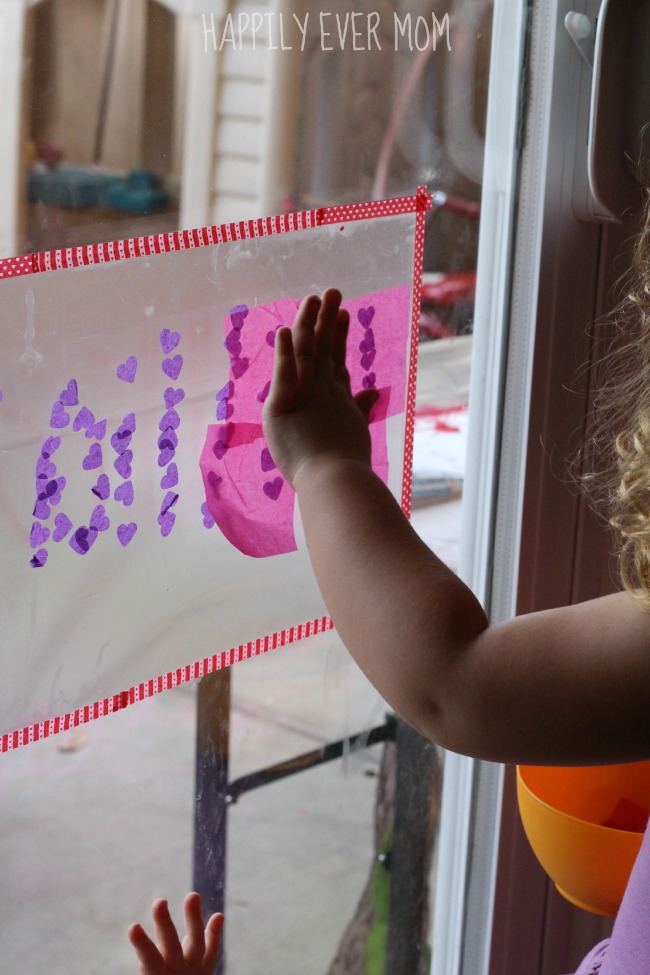
- Tape a large rectangle of contact paper in your window or door. Make sure the sticky side is facing you!
- Remember that trick I was telling you about?? Here it is….
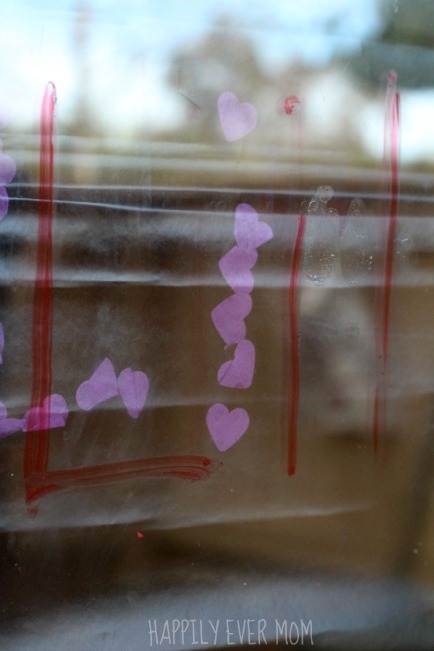
Write your child’s name on the other side of the window with dry erase marker (it will clean easily with cleaner)
This way you will see your child’s name written correctly when you turn it around. You could just write their name backwards underneath the contact paper…but, I’m just not that talented…
**Note: This DOES mean that you’ll be adding tissue squares to a name that is written BACKWARDS, but the final product will be written in the correct direction!**
Personalized Suncatchers: Make It!
- Add the shaped tissue squares along the lines of your child’s name
- Add the second layer of tissue with just large squares.
- Add a second layer of contact paper on top of the whole project
- Cut any excess tissue that hangs out.
**Tip: We used washi tape because it makes a lovely outline for the personalized suncatchers!

And, you’re done!
Hang your child’s personalized suncatcher in the window or use it as a place mat! The more kids see their personalized suncatcher, the more you will help kids learn their name!
If you liked this post, you might also like our post about using a chalk maze to help kids learn their name!
 Be sure to check out the other posts in this series!
Alphabet Sorting on the Light Table from And Next Comes L
Mirror Literacy: Exploring Symmetry in Letters from Still Playing School
Light Table Letter Search; Letter Recognition with Water Beads from Where Imagination Grows
Your Turn!
What’s your favorite kind of suncatcher?
 Follow along with us on our Facebook page or on our Pinterest boards, too!
Very nice Katie! Such a creative way to learn to spell their names! We’ll have to give this a try!
Thanks, Lisette! We had fun with this 🙂
It’s so pretty! I love the sneaky name learning. 🙂
Thanks, Dyan, my daughter is so proud staring at her name glowing in the window!
Such a cute activity! Love the look of your blog – did you redesign? Looks great!
Thanks, Claire, we really loved this activity! And, thank you, we did redesign – lovely of you to notice 🙂
These are so pretty! Love the tiny tissue paper hearts for fine motor work, too!